Last updated November 18, 2026





Free written scope consultation - allowances, timeline, and change-order rules on paper before a single trade is scheduled
Windows & Doors Maintenance Schedule: What to Do and When
A failed bead of caulk around a window frame costs about $12 to replace. Left through one rainy season in Fullerton, that same failed bead can wick water into the rough opening and rot the king stud – turning a $12 fix into a $1,400 framing correction before a single new window goes in. That gap is the whole story of window and door maintenance. It’s not complicated. It’s just scheduled, or it isn’t. This guide lays out a month-by-month calendar for keeping water out of the wall assembly, with the specific products, inspection criteria, and cost consequences for each task. If you’re a Fullerton homeowner watching your 2018-vintage windows head into their first real rainy season, this is the page to bookmark.
Quick Answer
A complete window and door maintenance schedule involves four annual passes: a fall pre-rain inspection (caulk and weatherstripping), a spring cleaning (tracks, weep holes, hardware), a summer check for thermal expansion gaps in vinyl frames, and a winter review of any storm-related issues. Each pass takes 30 to 90 minutes for a typical Fullerton home. Total annual time: under five hours. Total annual cost if you buy your own materials: about $40 to $80. The cost of skipping it can run into the thousands.
Styles & brands we work with
- Kitchen remodeling
- Bathroom remodeling
- Home additions & ADU
- Roofing
- Windows & doors
- Driveway & pavers
- Fence
Table of Contents
- The Annual Caulk Inspection Protocol
- The Seasonal Schedule for Fullerton’s Climate
- Weatherstripping Replacement Criteria by Type
- Hardware Maintenance: Hinges, Deadbolts, and Sliding Door Rollers
- Documentation Practice: The Photo Record
- The Number: What Maintenance Actually Costs
- Common Mistakes to Avoid
- Frequently Asked Questions
The Annual Caulk Inspection Protocol
Caulk is the seam between a window or door frame and the exterior wall, and it’s the first line of defense against water intrusion. Most homeowners replace caulk when it looks bad. That’s too late. Failed caulk fails in stages, and only the last stage is visually obvious from ten feet away.
Here are the three stages, with what each looks like and what it means:
- Stage 1 – Surface cracking. Fine hairline cracks across the caulk bead, usually from UV exposure and thermal cycling. The bead is still bonded to both surfaces. This is cosmetic but worth noting on the inspection log; expect replacement within one to two years.
- Stage 2 – Separation at the edge. The caulk has pulled away from the frame or the wall, leaving a visible gap. Water is now reaching the joint substrate behind the bead. Replace within the current season, before the next rain event.
- Stage 3 – Missing sections. Caulk has cracked out and fallen away entirely, or been chewed by insects. Water is entering the rough opening directly. Replace immediately. If it’s been missing through a rainy season, probe the frame for soft wood before recaulking – and if the wood gives, you have a framing issue, not a caulk issue.
Product choice depends on the substrate. For wood-to-wood or wood-to-metal joints, Sashco Lexel is the standard in our trade for its adhesion to damp surfaces and its flexibility after cure. For vinyl-to-stucco joints – common on homes built in Fullerton’s 1970s and 1980s tracts – GE Silicone II handles the thermal movement of vinyl against a rigid wall better than acrylic caulk. Application temperature matters: both products want ambient temperatures above 40°F and below 100°F, and both should be applied to a dry joint. Don’t caulk in the rain or in direct summer sun when the substrate is hot to the touch.
The Seasonal Schedule for Fullerton’s Climate
Fullerton is a Mediterranean climate with a tight rainy season, roughly November through March. That compression means most water starts hitting your windows and doors in a five-month window, and the inspection before that window opens is the one that matters most. Here’s the calendar we recommend to every homeowner we work with.
Fall (October-November): Pre-Rain Inspection
- Walk the exterior and inspect every caulk joint at every window and door frame. Log stage 1, 2, or 3 for each one.
- Test weatherstripping by closing the window and sliding a dollar bill between the sash and the frame. If it slides out with no resistance, the seal is compromised.
- Check door sweeps for daylight at the bottom. A visible line of light means a full replacement before rain.
- Clear gutters above window head flashings – a clogged gutter in Fullerton dumps water directly into the wall assembly at the window head.
Spring (March-April): Track and Hardware Cleaning
- Vacuum sliding door and window tracks to clear grit, pollen, and debris before it packs into the rollers.
- Clear weep holes at the bottom of every window frame – the small slots that let any condensation exit. A weep hole plugged with debris traps water against the sill.
- Lubricate hinges, locks, and sliding door rollers (specific lubricants in the hardware section below).
- Wash windows and doors with a mild detergent – this is the time to inspect seals closely while you’re already on a ladder.
Summer (June-August): Thermal Expansion Check
- Vinyl frames expand and contract as much as 1/8-inch per 10-foot section across a 40°F temperature swing. In July and August, check whether that movement has opened any caulk joints or weatherstripping gaps.
- Check that every operable window still latches fully – if the latch won’t close, the frame has likely shifted.
- Inspect exterior shaded walls for condensation or staining that might indicate a slow leak from a window head flashing.
Winter (November-March): Storm Review
- After each significant rain event, do a quick interior walk-through: check interior sills for water stains, and check the ceiling below second-floor windows for staining.
- If you notice a wet sill, photograph it immediately, note the date, and address it as soon as the weather clears – don’t wait for spring.
If you’re also maintaining the exterior surfaces those windows sit in, we cover the sequencing at Rowan Construction Group Fullerton home with related guides on roofing, pavers, and fencing.
Weatherstripping Replacement Criteria by Type
Weatherstripping keeps air and water out of the gap between the operable sash (or door) and the frame. It fails differently by type, and the replacement trigger differs for each. Homogeneous replacement across all three is a waste of money; each has its own criteria.
Foam Compression Strip
Common on windows and interior doors. Replace when the foam is compressed flat – when the strip no longer springs back after you release pressure with your thumb. Once flat, air moves freely. Use this on the dollar-bill test: if the bill slides out with no resistance, the foam is dead.
Fin Seal (Also Called V-Strip or Kerf-In)
Common on vinyl and aluminum windows. Replace when the fins are bent flat against the frame or permanently folded over. Gently press a fin with your finger; if it doesn’t return to its original angle, it’s lost its seal. Fin seals also harden with UV exposure – if the plastic feels stiff or brittle, replace.
Door Sweep
The bottom-of-door seal. Replace when daylight is visible at the threshold, when debris or insects get past it, or when the sweep is torn or no longer contacts the threshold. A functioning sweep should make contact with the threshold across the entire width of the door with slight compression – no gaps, no light.
We’ve seen plenty of Fullerton homes where the door sweep failed years ago and the homeowner only discovered it after water pooled at the interior threshold during a January storm. Attach a photo and a date to the door sweep testing in your fall inspection log; that record is what determines whether a later water issue is a warranty claim or a maintenance item.
Hardware Maintenance: Hinges, Deadbolts, and Sliding Door Rollers
Hardware maintenance is where most schedules fall apart because homeowners use the wrong lubricant. Here are the specific tasks, frequencies, and products.
Hinges (Exterior Doors, Operable Windows)
- Frequency: Twice per year, ideally at the fall and spring inspections.
- Lubricant: White lithium grease on hinge pins. For interior hinges where dirt is not a concern, a dry silicone spray works too.
- Avoid: Petroleum-based oils and WD-40. Petroleum on vinyl frames causes plasticizer migration that hardens the vinyl; it also attracts dust that accelerates wear.
Deadbolts
- Frequency: Test the throw every quarter – seat the deadbolt fully and confirm the 1-inch bolt extends without obstruction. Lubricate the cylinder and bolt mechanism annually.
- Lubricant: Graphite powder or dry silicone in the keyway cylinder; white lithium on the bolt’s sliding surface.
- Full-throw test: The deadbolt should extend completely with the door closed and latched. If it partly extends, the strike plate is misaligned – a common issue after settling in older Fullerton homes.
Sliding Door Rollers
- Frequency: Clean rollers and tracks twice per year, ideally in the spring and fall.
- Lubricant: Dry silicone spray on the rollers. Never grease on a sliding door roller – grease attracts grit and glues it to the roller, which is the leading cause of sliding doors that need replacement at five years instead of fifteen.
- Replacement trigger: If the door needs a hand to slide, the rollers may need replacement before the track does. Determine this before assuming you need a new door.
Documentation Practice: The Photo Record
Photo documentation is the difference between a warranty claim that gets honored and one that gets denied. It’s also the difference between an insurance claim that pays for a window leak repair and one that’s blamed on homeowner neglect. Here’s the practice we recommend to every homeowner in Fullerton.
- Photograph every window and door frame exterior annually – one wide shot showing the whole frame, one close-up of each caulk joint. Date-stamp them in the camera settings.
- Log the stage of each caulk joint (stage 1, 2, or 3) in a simple spreadsheet. Note what you did (replaced, left, scheduled for repair).
- Photograph interior sills at every window after the first rain of the season; photograph any staining immediately with a date.
- Keep receipts for product purchases – caulk, weatherstripping, rollers, sweeps. Most window warranties require documented maintenance, and the receipt is the proof.
- Store the log where you keep the home’s other documents – the warranty folder, the folder of appliance manuals, the same place your home inspection report lives.
When we’re called to address a window or door failure in Fullerton, the first thing we do is ask for that log. If it exists, we can often scope the work and price it in a single visit with a written scope and warranty. If it doesn’t, we spend more time on discovery, which costs the homeowner more. The fence installation in Newport Beach crew we work with on coastal properties favors the same documentation practice on fence posts and gates, for the same reason.
The Number: What Maintenance Actually Costs
Here’s what each task costs in the Fullerton market, whether you handle it yourself or bring in a professional. Material pricing is at current retail; labor pricing reflects what a licensed local professional typically charges for a small job minimum.
- Caulk bead replacement (one window): $10 – $18 in materials, $75 – $125 professional minimum per visit
- Full home caulk inspection and replacement (12-15 windows): $150 – $250 in materials, $400 – $750 professional appointment
- Weatherstripping replacement (per door or window): $15 – $30 in materials; $75 – $150 professional per unit
- Door sweep replacement: $20 – $45 for a quality sweep (frosted or algae-resistant), $85 – $175 professional installation
- Sliding door roller replacement (per door): $35 – $70 in materials, $150 – $300 professional per door
- Deadbolt replacement (per door): $40 – $120 in materials, $75 – $150 professional installation
Now the costs of skipping maintenance. Water intrusion into the wall assembly behind a window rough opening runs $400 – $1,400 to repair once the framing is involved, plus $200 – $600 for drywall and paint. Replacing a window because the frame rotted runs $600 – $1,800 per window. The math produces an obvious conclusion: budget $40 to $80 annually in materials for a self-conducted schedule, or $500 to $900 annually in professional maintenance. That’s less than the cost of one window replacement.
Under Clause 1 of The Haven Standard at Rowan, the price is written before anyone starts. That applies to maintenance work the same as it does to a full window replacement: a documented scope, a written price, no change orders without a signed approval, and the 365-Day Done Right Promise if something comes back. If you’re considering a repair and want a second look at a quote you’ve already received, we review any written estimate line by line for free.
Common Mistakes to Avoid
- Caulking over failed caulk. New caulk laid over old caulk with a failed bond is a bridge, not a seal. Strip the old bead back to bare substrate, clean, prime if the product calls for it, then caulk.
- Using petroleum-based lubricant on vinyl. WD-40 and petroleum oils harden vinyl weatherstripping and sliding door frames, causing the very cracking you were trying to prevent. Stick to dry silicone and white lithium.
- Ignoring weep holes. Homeowners often caulk over the weep holes at the sill of a window thinking they’re sealing a gap. Weep holes are supposed to be open – they drain condensation, and plugging them traps water against the sill.
- Skipping the pre-rain inspection. In Fullerton, doing the schedule “sometime in spring” means the entire rainy season has already passed. Fall inspection is not optional.
- Replacing windows when a repair would do. A window that leaks at the sill is often a caulk or weep hole issue, not a window failure. Diagnose before you buy.
- No photo record. We can’t count the number of warranty claims we’ve seen denied because there was no dated baseline. A $0 practice saves $1,000+ when a claim comes due.
- Using acrylic caulk on exterior vinyl-to-stucco joints. Acrylic caulk cannot accommodate the thermal movement of vinyl against a rigid substrate; it cracks within one to two seasons. Silicone or Lexel only.
See the difference
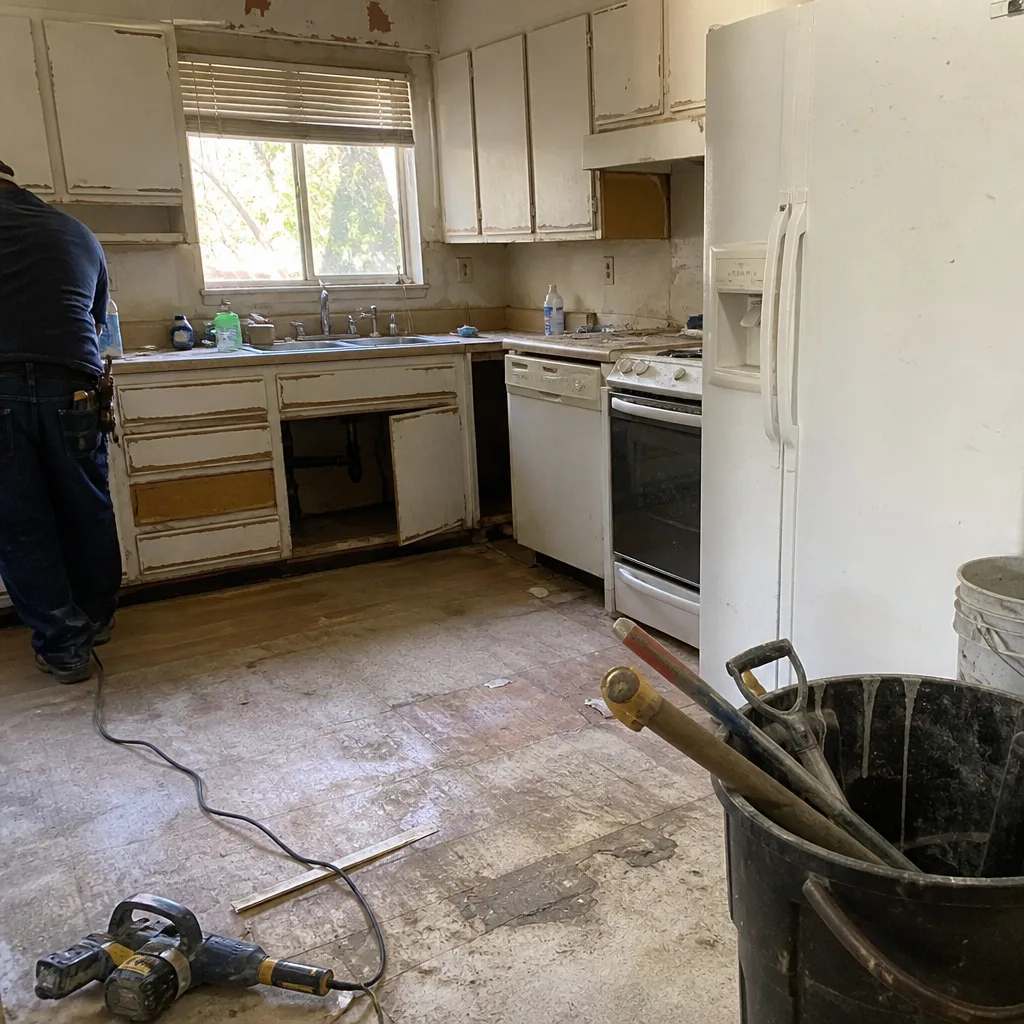 Before
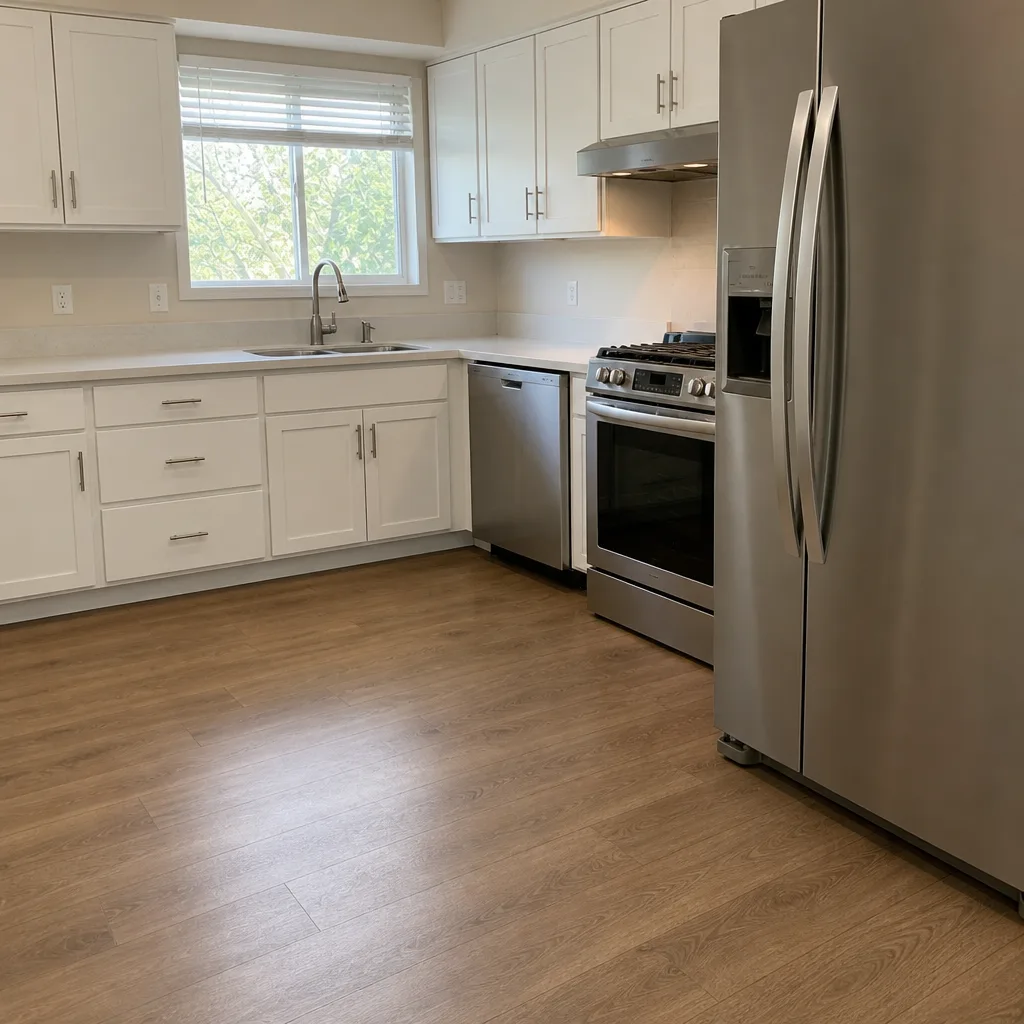 After
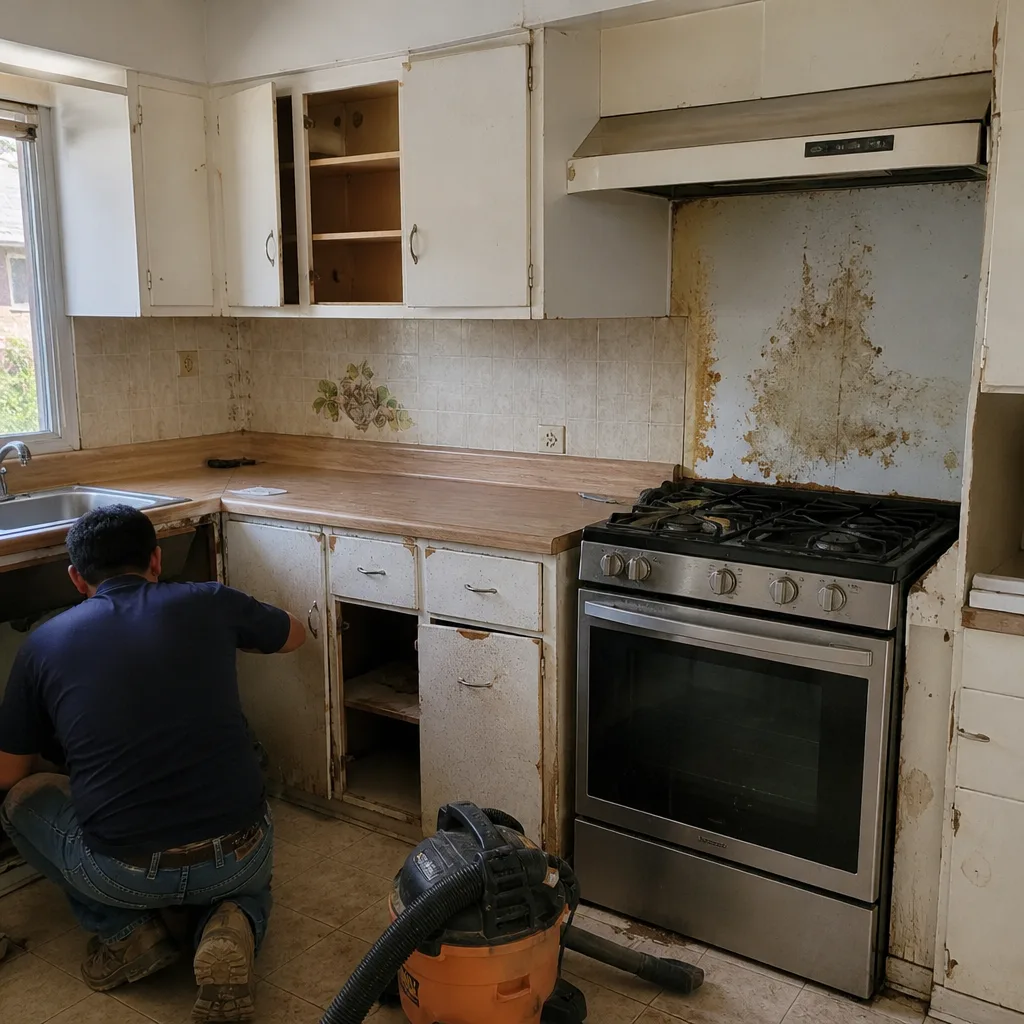 Before
 After
 Before
 After
When to Call a Professional
Most of the tasks in this guide are doable by a careful homeowner. But there are situations where the diagnosis matters more than the DIY repair, and a trained professional should be on the job. Specifically: (1) any water staining inside the wall assembly that you can’t reach from outside; (2) soft wood discovered when probing a rough opening after a failed caulk joint; (3) a window or door that no longer operates smoothly after a heavy weather event; (4) any failed caulk you’ve already replaced and the leak returned; (5) any window or door that doesn’t fully latch, since that’s a frame issue rather than a seal issue.
Rowan Construction Group Fullerton offers free estimates in Fullerton – call (844) 320-7095. Every visit includes a documented photo record of what we find, and you’ll have a written price with a written scope before any work starts.
We also field a lot of calls from homeowners considering a larger window or door replacement, or an addition with new openings. That’s the territory of home additions and ADU work in Newport Beach, and the same maintenance discipline applies to opening through the new wall. For properties where the driveway or pavers need attention after the wet season, the team at driveway and pavers in Newport Beach handles that scope. Fullerton homeowners working through the rainy-season punch list on exterior surfaces should also review our guide to Rowan Construction Group’s Fullerton resources.
Frequently Asked Questions
Inspect caulk twice per year – once in the fall before the rainy season and once in the spring – and replace any joint at stage 2 or stage 3 in that same season. Most Fullerton homes need full joint replacement every three to five years on the sides that face the afternoon sun, and every five to eight years on shaded walls.
GE Silicone II is the standard for vinyl-to-stucco joints in Fullerton because it accommodates the thermal expansion of vinyl against a rigid substrate. Sashco Lexel is the standard for wood-to-wood or wood-to-metal joints. Acrylic caulk fails within one or two seasons on exterior vinyl joints.
Use the dollar-bill test: close the window or door on a dollar bill, then pull the bill firmly. If it slides out with no resistance, the seal is compromised. Match the replacement criteria to the strip type – foam compression when flat, fin seal when fins are bent flat, door sweep when daylight is visible at the threshold.
Clean first. Remove the door, vacuum the track, spray the rollers with dry silicone, and reassemble. If the door still requires effort to slide, the rollers need replacement – a $35 – $70 material cost per door. Rollers typically last seven to twelve years, longer if they’ve been kept clean of grit.
It depends on the cause and the documentation. Sudden events like a storm that breaks a seal are usually covered; long-term water intrusion from skipped maintenance is usually excluded. Your dated photo record is what determines which category your claim falls into. Call (844) 320-7095 for a free estimate if you’re unsure whether a repair is maintenance or a covered loss.
A complete window and door maintenance appointment on a typical Fullerton home takes two to four hours for a professional crew, covering caulk inspection, weatherstripping testing, hardware lubrication, and photo documentation. The homeowner receives the photo record and a written punch list with cost estimates in the same visit.
The Bottom Line
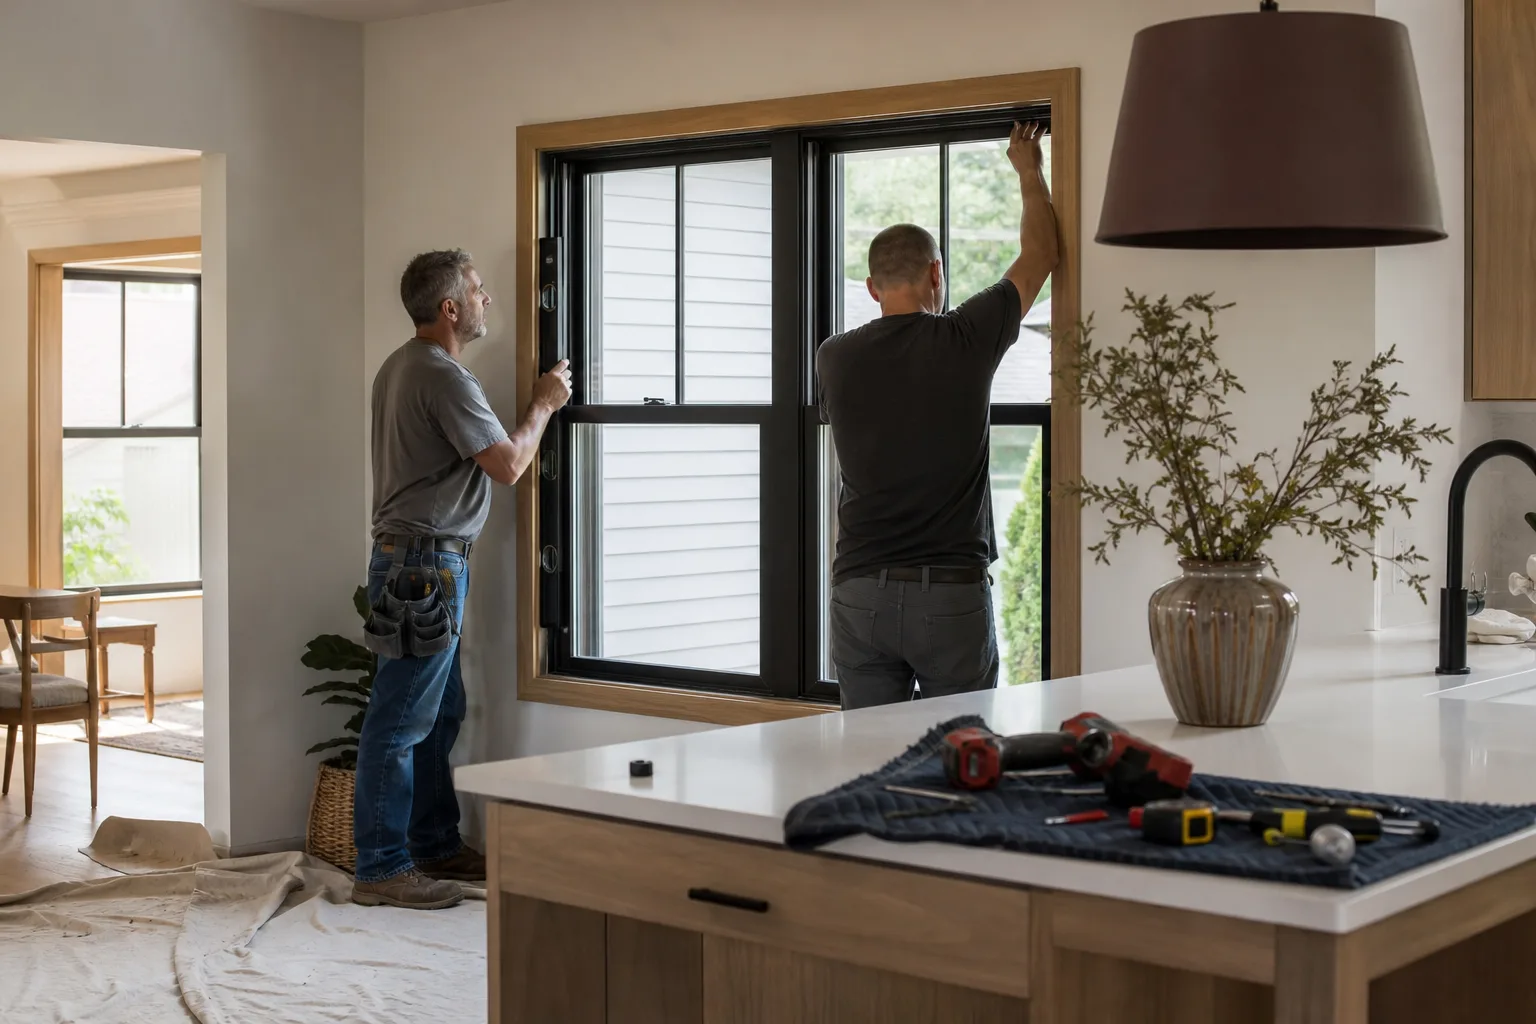
The whole maintenance schedule costs about $40 to $80 annually in materials and under five hours of homeowner time. The tasks that matter most are the ones that keep water out of the wall assembly: annual caulk inspection, weatherstripping replacement triggers, hardware lubrication with the right product, and a dated photo record. Do them in Fullerton in the fall, and you’ll never have to replace a window that could have been saved by a $12 caulk bead. If the diagnosis exceeds what you want to handle, a written price and a documented photo record are one call away. For related scopes – fence installation, driveway and pavers, home additions and ADUs – we’ve covered the local specifics on our city pages.
Call Rowan Construction Group Fullerton at (844) 320-7095 to schedule your free estimate. We’ll inspect what you’ve got, photograph what we find, and put the price in writing before anyone picks up a tool. That’s the 365-Day Done Right Promise behind every appointment, and it’s backed by The Haven Standard, not a handshake.
Written by the team at Rowan Construction Group Fullerton.