Last updated November 18, 2026








Free written scope consultation - allowances, timeline, and change-order rules on paper before a single trade is scheduled
Bathroom Remodeling Troubleshooting: Common Problems and How to Fix Them
Grout cracking within 12 months of a tile installation is not a grout problem in 90% of cases. It’s a substrate deflection problem, which means the fix requires opening the floor, not regrouting. We’ve watched homeowners spend $300 on three separate regrouting visits over two years before anyone cut a single tile to check what the subfloor was actually doing underneath. Every visible failure on this list has a discoverable cause buried in the installation record. What follows traces each symptom back to the step that was skipped, so you can have a specific conversation with a contractor instead of a circular one. We’re writing from Fullerton, where the summer heat cycling through vented attics creates its own set of problems worth naming.
Quick Answer
Most post-remodel bathroom failures – cracked grout, slow drains, ceiling condensation, doors that won’t latch – trace to one of five installation steps: substrate deflection, a waterproofing breach at the curb or niche, an undersized supply line, an uninsulated exhaust duct, or framing overloaded on a non-structural wall. Diagnose the installation step, not the symptom, before you authorize any repair. California requires contractors to provide a written warranty on remodel work, and the scope of that warranty was negotiable before you signed – so pull your contract first and read what it actually covers.
Styles & brands we work with
- Kitchen remodeling
- Bathroom remodeling
- Home additions & ADU
- Roofing
- Windows & doors
- Driveway & pavers
- Fence
Table of Contents
- Why is my new tile grout cracking?
- Why is my shower leaking after a remodel?
- Why is water pressure low at my new fixture?
- Why is condensation forming on my bathroom ceiling?
- Why won’t my bathroom door latch after remodeling?
- Is this a warranty claim, a defect, or wear-and-use?
- How do you test waterproofing before tile goes up?
- How do you file a written warranty claim with a contractor?
Why is my new tile grout cracking?
Grout cracks because the surface under it moved. That’s almost always the whole answer. Cement grout has some flexibility bu that flex has a limit, and when the tile assembly deflects more than L/360 – the standard measure of allowable floor deflection over a span – the grout lines take the movement and fail. Here’s the sequence of installation problems that produce that movement, ranked by how often we find them in Fullerton homes.
- Insufficient subfloor thickness or joist spacing. A porcelain tile floor needs a minimum 1-1/4 inch of subfloor assembly over joists spaced no more than 16 inches, or the deflection calculation has to be run and documented. Older Fullerton houses built in the 1940s and 1950s frequently have 2×8 joists on 16-inch centers, which meet the calculation only after a second layer of plywood is screwed and glued down.
- Skipped or incorrectly mixed thinset. Thinset that was mixed too dry, or applied in spot dabs rather than fully combed with a notched trowel, leaves hollow voids. Walk barefoot on the tile and listen. Noise means voids.
- No uncoupling or crack-isolation membrane. This is the failure we see most. A sheet-applied or liquid-applied membrane between the subfloor and the tile absorbs movement that would otherwise transmit into the grout. Skipping it saves the installer a day and costs you the floor.
- No expansion gap at the perimeter. Tile expands and contracts with temperature. It needs a 1/4-inch gap at every wall and hard surface, filled with a flexible sealant rather than grout. Grout the perimeter and the first row of tiles will crack every time.
How to confirm: tap along a crack line with the handle of a screwdriver. A hollow sound under the tile indicates thinset voids. That’s a floor problem. If the tap sounds solid all the way across, the crack is cosmetic and a flexible regrout material may hold. Get the tap test on the record before a contractor visits, because it separates a $150 fix from a $2,400 rebuild.
Why is my shower leaking after a remodel?
Water showing up in the ceiling below or at the base of the shower wall after a remodel almost always comes from a waterproofing breach at one of four specific points: the curb, a niche corner, the drain flange connection, or the transition where the tile meets the shower pan. In our experience, the curb is the number-one culprit because it’s where the installer’s waterproofing detail has the most opportunities to fail and the fewest places to hide.
A proper curb is built with a sloped top so water runs back into the shower, covered in a waterproof membrane that wraps continuously over the curb and extends at least 2 inches up the shower wall on the outside. The membrane has to be embedded in the thinset, not just laid in place, and the inside and outside corners of the curb require pre-formed corner pieces. Membranes cut short at the curb, corners patched with caulk instead of membrane, or nail heads driven through the liner – any one of those compromises the whole waterproofing layer.
Niche corners fail for the same reason. Every 90-degree inside corner of a recessed niche needs a pre-formed waterproofing corner or a membrane detail; caulk alone is not waterproofing. We’ve pulled niches where the installer ran the membrane over the face of the wall but never folded it into the niche recess itself – a hidden defect that only shows up as a stain on the wall below six months later.
What to check before you accept a diagnosis: the shower pan should hold water with a plug in the drain for 24 hours without any drop in level. If the level dropped, the waterproofing failed before the tile went up. If your contractor can’t tell you whether a flood test was performed, that absence is itself the answer.
Why is water pressure low at my new fixture?
Low pressure at a brand-new fixture usually comes down to three causes, and they’re ranked here by the cost to fix. Check them in order before accepting a “that’s just how this model is” answer.
- The shut-off valve isn’t fully open. Angled stops under a sink or behind a toilet are quarter-turn or multi-turn, and multi-turn valves can be closed a quarter turn and still pass some water. It takes one minute and no tools to check, and we find it fully or partly closed on maybe 1 in 20 service calls.
- The fixture’s aerator or filter screen is clogged. Debris from new plumbing – solder, pipe dope, sediment dislodged during the shut-off and restart – collects in the aerator. Unscrew it, rinse it, and reinstall. This is a homeowner task, not a call.
- The supply line is undersized. New fixtures on 3/8-inch supply lines from a full-flow valve perform fine. But a contractor who reused a 1/4-inch line to save a trip to the supply house is throttling the fixture before it starts. A Toto or Kohler sink faucet in a new vanity with a 1/4-inch supply line will read low on the pressure gauge.
If none of those resolves it, the problem is upstream in the piping, and that’s a licensed plumber’s call. Water pressure at the meter in Fullerton runs around 55 to 75 psi depending on the elevation of your street – most of the city is fed from the Metropolitan Water District system via the city’s own booster stations, so residents near the higher elevations of the Raymond Hills area sometimes see lower static pressure than valley addresses a mile away. Pressure below 40 psi at the meter warrants a call to the city before it becomes a fixture conversation.
Why is condensation forming on my bathroom ceiling?
Condensation on a bathroom ceiling that appeared after a remodel usually means the new exhaust fan isn’t moving air the way it should, or the duct run was never properly insulated. There are two distinct failure modes and they require different fixes.
The first is a fan that runs but underperforms. Bathroom fans are rated in cubic feet per minute (CFM), and the minimum for a bathroom up to 100 square feet is 50 CFM. A larger bathroom needs a higher rating, roughly 1 CFM per square foot above that threshold. A fan rated at exactly 50 CFM installed with a 15-foot duct run and two elbows effectively delivers less than half its nameplate rating because static pressure in the duct eats the performance. If your Fullerton home was built in the 1960s or 1970s with a hall bath under 60 square feet, a modern fan rated 80 CFM or above is the correct upgrade.
The second failure mode is a ducted fan that exhausts into the attic instead of outdoors. This is a code violation in California and it’s more common than it should be in older homes where a previous installer terminated the duct at the first available soffit rather than extending it to a roof or gable vent. The moist air condenses on the cold sheathing in winter and the ceiling in summer.
The third, and the one that shows up after a remodel specifically: the duct is insulated at the fan end but not where it passes through the unconditioned attic. A 10-foot duct run through a Fullerton attic that hits 130°F in July will form condensation on the exterior of uninsulated flex duct even when the fan terminates correctly outdoors. Insulated flex duct throughout the full run, no sagging loops, and a backdraft damper at the exterior termination are the standard we hold on our own installs.
If your ceiling has a stain that will not dry, stop running the fan for a day and watch whether the stain grows. A stain that grows without the fan on is a leak, not condensation, and needs a different diagnosis.
Why won’t my bathroom door latch after remodeling?
A bathroom door that swings past its strike plate or sticks along the top or edge after a remodel is almost always a framing deflection problem, not a hardware problem. The weight of new tile, backer board, and thinset on a wall adds real pounds per square foot, and if that wall is a partition framed with 2x4s at 24 inches on center with no header above the door opening, the wall itself can rack slightly as the floor assembly settles. A door frame built into a wall that moves half an inch at the top will not line up with a strike plate that was set before the movement happened.
The order of diagnosis matters here:
- Check the door for square. Measure both diagonals of the door slab with a tape measure. If they’re off by more than 1/8 inch, the door itself has warped from moisture, and a new slab or a full rehang is the fix.
- Check the frame for square. Measure corner to corner across the full inside of the door frame. If it’s off, the frame has racked and needs to be re-plumbed. That’s a framing repair, not a hinge adjustment.
- Check the strike plate alignment. Close the door gently and see if the latch bolt lands in the middle of the strike plate hole. If it’s riding high or low by more than 1/16 inch, the plate or the hinge can be adjusted – a five-minute fix.
- Check the threshold and the bottom clearance. A new tile floor adds thickness that sometimes wasn’t accounted for in the door undercutting. A door that drags on the tile will not seat in the strike.
Framing deflection is the failure that requires opening the wall. It’s also the one to raise in the first conversation with your contractor, because a door that was aligned at punch-list and misaligned six months later is a workmanship question, not a hardware swap.
Is this a warranty claim, a defect, or wear-and-use?
California contractors are required under Business and Professions Code section 7159 to provide a written contract that includes the terms of any warranty offered – and the scope of what that warranty covers was negotiable at the signing table. The distinction between a workmanship claim, a manufacturer defect, and normal wear-and-use determines who pays, and it determines what evidence you need.
- Workmanship. The installation step was skipped or done incorrectly. Grout cracking at a perimeter with no expansion gap, a shower leaking at a curb that was not properly waterproofed, a fan ducted into the attic rather than outdoors – those are workmanship claims. They belong to the contractor’s warranty.
- Manufacturer defect. A product failed within its own published specifications – a Kohler valve cartridge that drips at six months, a CertainTeed or Owens Corning roofing product on an adjacent project, a faucet whose aerator housing cracked at the threads. That’s a product replacement covered by the manufacturer, and the contractor’s role is to file or support the claim.
- Wear-and-use. Caulk lines that need re-caulking every 3 to 5 years, grout that needs sealing every 2 to 3, a fan filter that needs cleaning. Those are homeowner maintenance, not claims.
The most useful thing you can do before a contractor visits is pull your written contract and read the warranty section carefully. Look for three things: the length of the workmanship warranty (one year is standard; better contractors offer more), the exclusions, and the claims process. If the contract doesn’t state a warranty, the standard industry baseline in California is one year on workmanship, but that’s the floor, not the ceiling. A written warranty is stronger than any verbal promise, and reading it before you have a problem is a five-minute task that pays off at year two.
How do you test waterproofing before tile goes up?
You flood test the shower pan, and it takes 24 hours minimum. The procedure is standard and every qualified tile contractor knows it. If your contractor proposes to skip it, that’s your signal to have the conversation before the tile goes on rather than after the leak shows up.
- Complete the waterproofing layer. The membrane must be fully installed and cured to the manufacturer’s specification, with the drain clamped and the weep holes protected.
- Plug the drain. Inflate a test plug in the drain line below the weep holes. The plug holds water in the pan without blocking the weep channel.
- Fill to a depth of at least 2 inches above the drain flange or to the top of the curb – whichever is lower. Mark the water level on the wall with a pencil.
- Wait a minimum of 24 hours, and check the level every few hours. No drop in the marked level is a passing test. Any drop means the membrane is breached and the tile cannot go up until the breach is located and repaired.
- Photograph the test at the start and the end. The photo record is the documented baseline. Without it, a future leak claim is your word against the contractor’s, and the burden falls to you to prove the waterproofing was inadequate at installation.
We include the flood-test photo record as a standard deliverable on our bathroom remodels in Fullerton because the documentation belongs to the homeowner, not to the crew that cuts the tile. If your contractor can’t produce a flood test record within 24 hours of a request, ask why – and if the answer is “we don’t do that on this size of job,” that’s a scoping conversation you want to have now, before the tile is set.
What’s the difference between a code violation and a quality complaint?
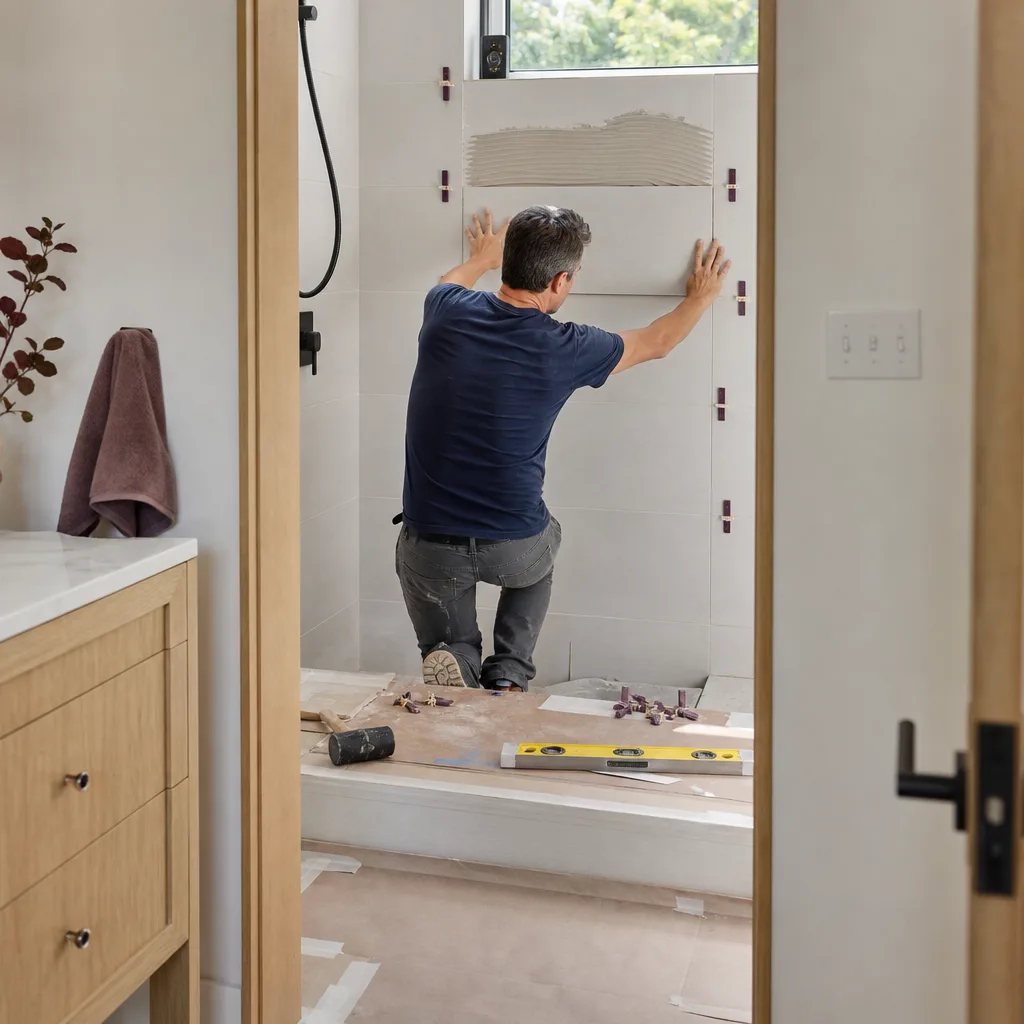
A code violation is a failure to meet a published building standard – the California Building Code, the California Plumbing Code, the California Electrical Code, and applicable local amendments. A quality complaint is a failure to meet the standard the contractor promised in the written scope. The distinction matters because remedies are different and the risk of rework is different.
Examples of code violations in a bathroom remodel: a fan ducted into an attic rather than outdoors; a receptacle within 3 feet of a bathtub or shower without GFCI protection; a shower drain not properly vented; a shower pan that will not drain to the weep holes; a room with no means of natural or mechanical ventilation. Any of those can require re-inspection by the local building department, and the correction must be done by a licensed contractor with the right trade credentials for the work – a plumber for the plumbing element, an electrician for the electrical element, a tile or general contractor for the waterproofing.
Examples of quality complaints that are not code violations: grout color mismatch, a tile layout the homeowner doesn’t like, a vanity door that doesn’t align, an exhaust fan louder than expected. Those are resolved by the contract scope, the written warranty, and the negotiation with your contractor – not by the building department.
If you suspect a code violation, the first step is to request the local building department’s inspection record for your address. Every permitted remodel in Fullerton is inspected at defined stages – rough plumbing, rough electrical, and final – and if the final inspection was never signed off, that’s a documented gap. Pull the record before you call the contractor, and reference the inspection file when you do.
How do you file a written warranty claim with a contractor?
Put it in writing, be specific about the failure, and use a delivery method that creates a record. A phone call is a convenience; a written claim is a document. Here’s the structure that gets a response.
- Submit in writing. Email is fine and creates a timestamped record. Certified mail is stronger if the contractor does not respond to email within 10 business days. Use both if the response window has already passed.
- Include the documentation. Photos of the failure, the date the failure appeared, the approximate date the work was completed, and a copy of the signed contract and warranty section. If you have a flood-test record or a photo record from installation, attach it.
- State the remedy you want. “Repair the shower leak in the manner consistent with the waterproofing method required by the contract” is specific. “Please fix this” is not.
- State a response deadline. 14 calendar days is reasonable for non-emergency bathroom work. 48 hours is appropriate if the failure is causing ongoing damage – water intrusion, an electrical fault in a wet location.
- Keep a copy of everything. A dated claim file with the delivery receipt is the record you will need if the dispute escalates.
If the contractor does not respond within a reasonable timeframe, the Contractors State License Board (CSLB) complaint process is the next step. File online through the CSLB website with the license number, the contract, the photos, and the written claim. The CSLB can require correction or, in severe cases, refer the matter further. Here at Rowan Construction Group Fullerton, the 365-Day Done Right Promise means we’d rather have this conversation at the first sign of a problem than have it escalate to a formal claim – and the written price, written scope, and documented photo record on every visit exist precisely so that conversation has evidence behind it.
See the difference
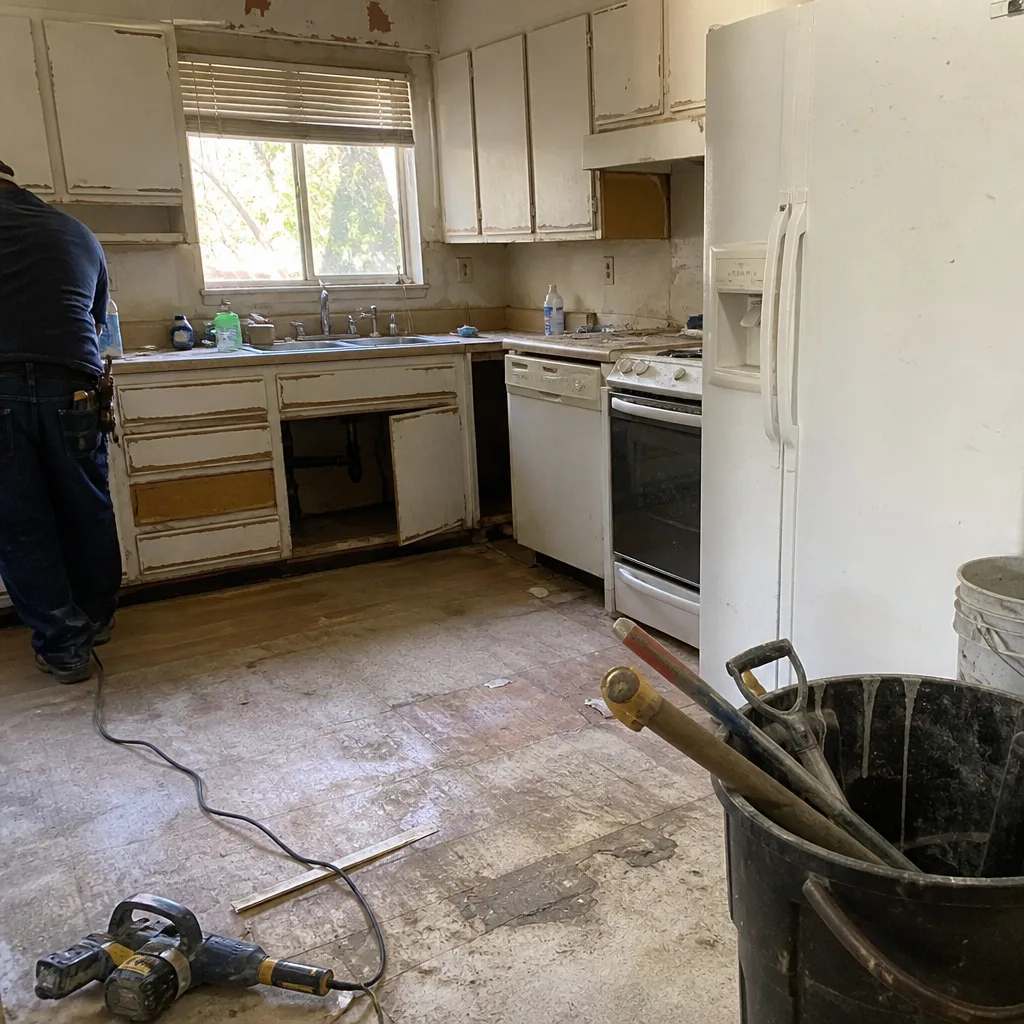 Before
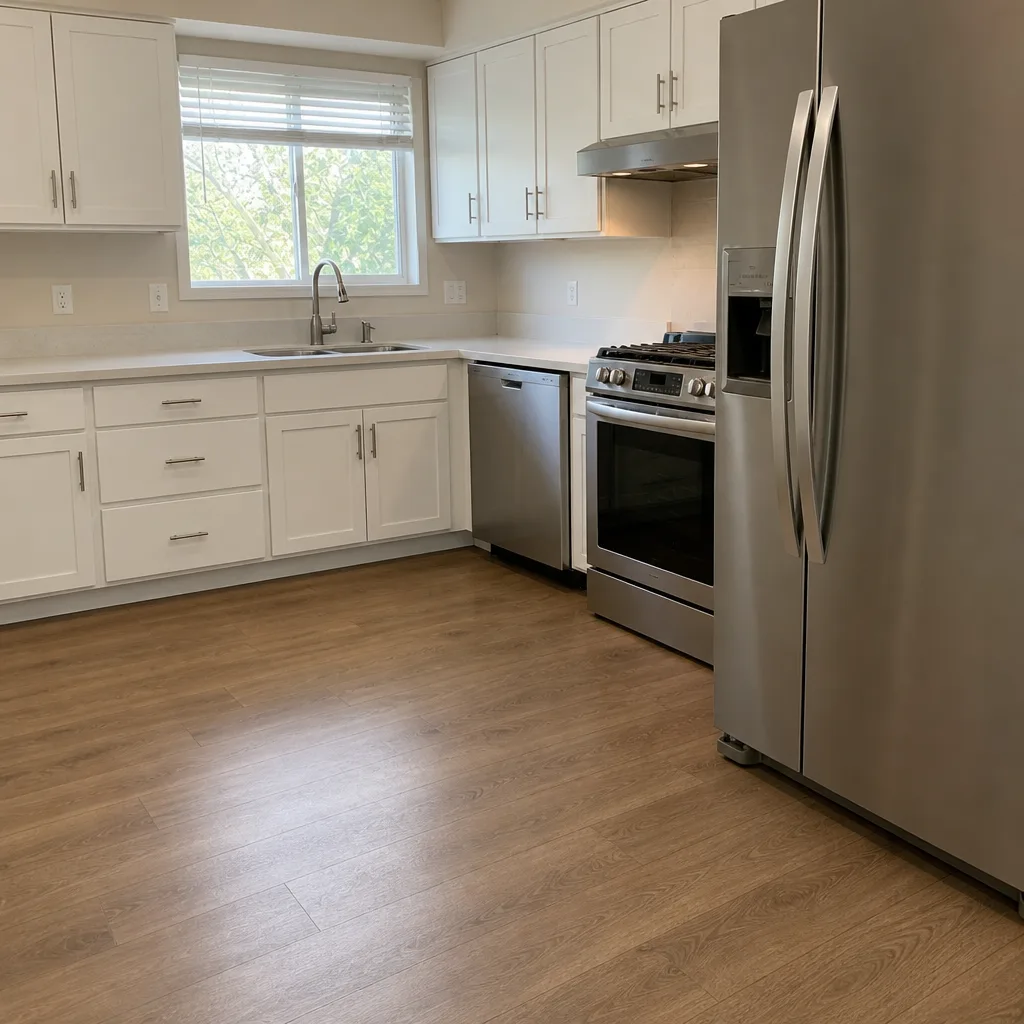 After
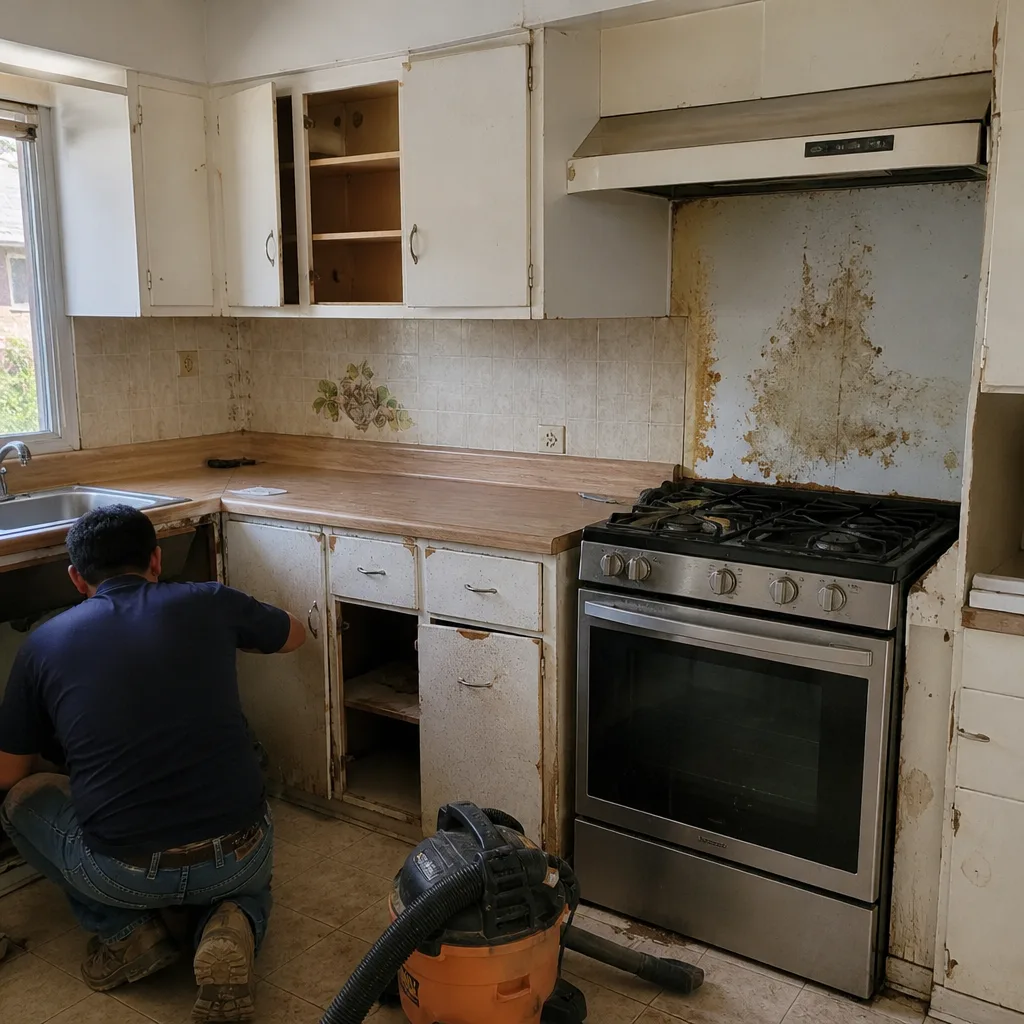 Before
 After
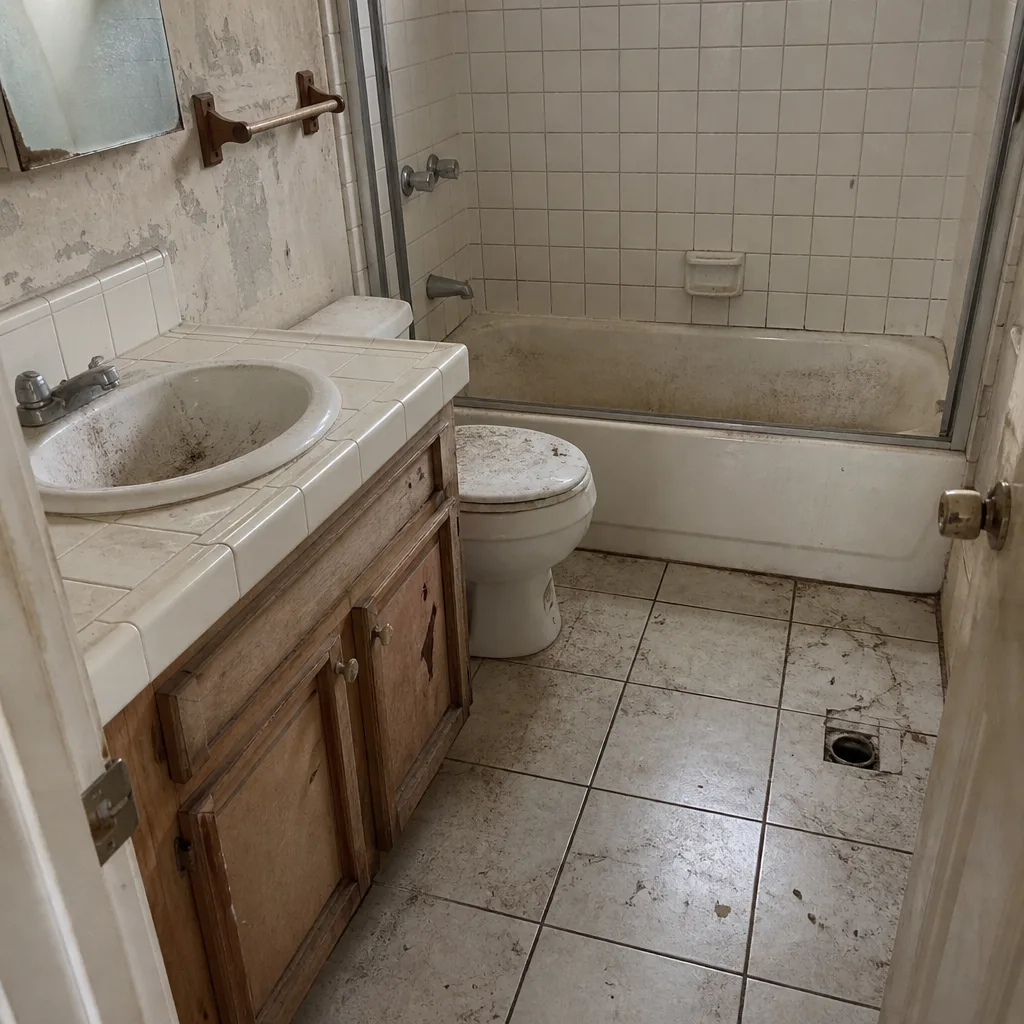 Before
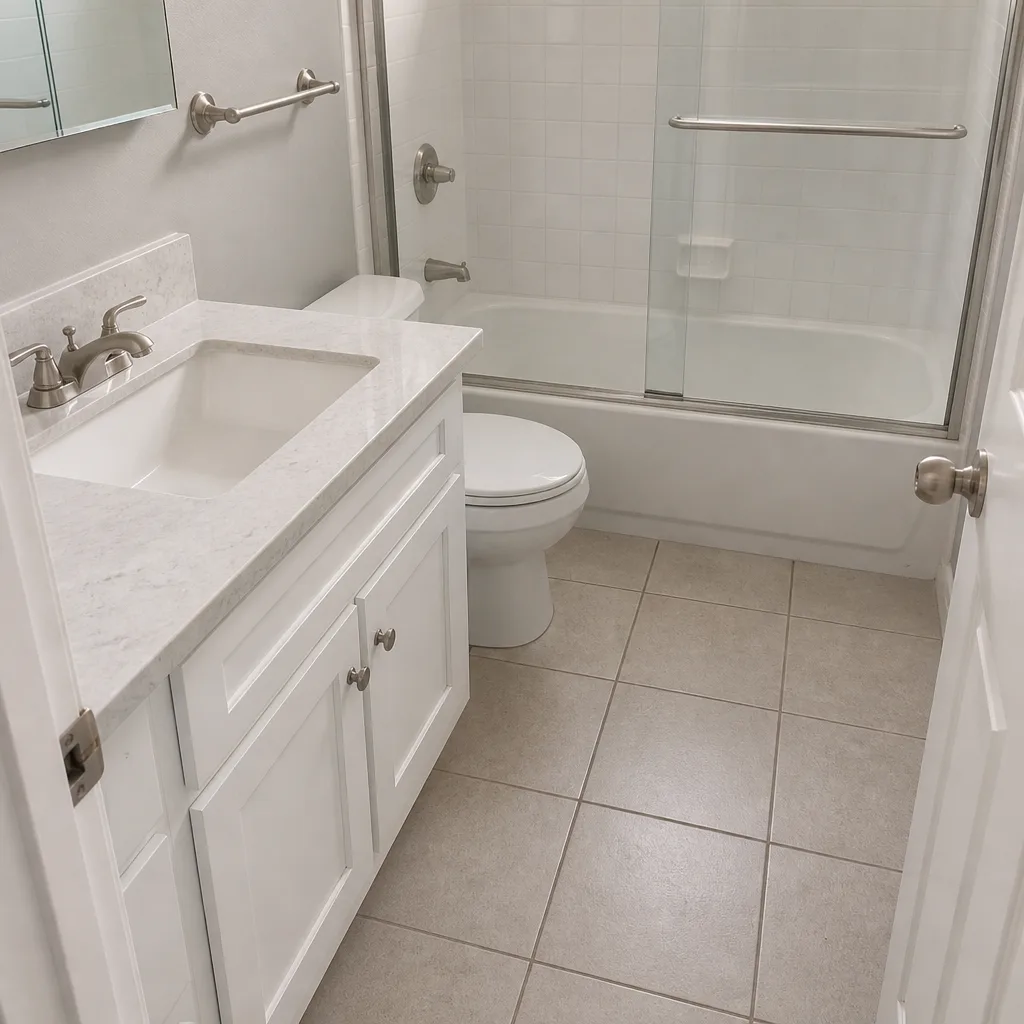 After
Common Mistakes to Avoid
- Regrouting a floor that has hollow voids under the tile. Two regrouting visits before a tap test tells you the thinset was spot-dabbed. You’ll spend $600 to postpone a $2,400 repair by six months. Tap first, regrout second.
- Skipping the flood test because “the guy said it wasn’t necessary.” Without a documented flood test you have no baseline for a future leak claim. Twenty-four hours of water in a pan is the cheapest insurance you will ever buy on a bathroom remodel in Fullerton.
- Accepting a verbal warranty. California requires the warranty terms to be in the written contract. If they’re not on the page, they’re not in the warranty. Read the section before you sign, not after the leak appears.
- Not pulling the permit. Fullerton requires permits for bathroom remodels that move plumbing, electrical, or structural elements. An unpermitted job may fail a later sale inspection and can invalidate insurance coverage on the affected scope. The permit record is also the only way to prove which inspections passed.
- Assuming low pressure at a new fixture is the fixture’s fault. Check the shut-off valve and the aerator before you call the manufacturer. Half of all low-pressure calls resolve in under five minutes with no tools.
- Not photographing the ducting before the ceiling is closed. If the exhaust fan is ducted into the attic rather than outdoors, that’s invisible after drywall. Photos of the routed duct are part of the record you should have received. If you didn’t receive them, ask.
- Calling the wrong trade. A framing deflection that racks a door frame is not a door hardware problem, and a waterproofing breach is not a plumbing problem. Diagnosing the installation step saves a service call, and it prevents a repair that fixes the symptom without addressing the cause.
When to Call a Professional
Call a licensed contractor when the failure involves water reaching somewhere it shouldn’t – a ceiling stain below a shower, a baseboard stain behind a vanities, a soft spot in a subfloor near a tub. Call when the failure is a code violation you suspect – an exhaust fan that terminates in the attic, an electrical receptacle within the GFCI zone that isn’t protected. Call when the written warranty window is still open and the failure is structural in origin, because framing work is not a homeowner repair. And call when a contractor has quoted a repair that treats a symptom without diagnosing the installation step – “we’ll re-caulk it” against a shower that’s leaking at the curb is a repair that comes back in six months. A free estimate is a diagnostic conversation as well as a price, and the diagnosis is the more valuable half. Rowan Construction Group Fullerton offers free estimates in Fullerton – call (844) 320-7095.
Frequently Asked Questions
A properly installed floor with a bonded substrate, uncoupling membrane, and perimeter expansion gap should hold grout lines for 10 to 15 years before needing re-sealing, and much longer before cracking. Cracking in the first 12 months is an installation failure, not normal aging. The fix depends on the cause – tap test first. If you’re seeing cracks before year three, call us at (844) 320-7095 for a free diagnostic estimate; the conversation costs nothing and the tap test is quick.
Only if the crack is cosmetic and the tile underneath is solid. Regrouting over a floor with substrate deflection or thinset voids is cosmetic, in the sense that it looks fine for a few months. The tap test tells you which case you have – hollow-sounding tile under a crack means the void needs to be addressed at the substrate, and that’s a contractor job. If the tile sounds solid, a flexible grout material and a proper expansion gap at the perimeter will hold.
Submit a written claim by email and certified mail with photos, the signed contract, and a stated response deadline of 14 calendar days. If the contractor does not respond, file a complaint through the Contractors State License Board website using the license number and supporting documentation. If the leak is causing ongoing damage, document the affected area with dated photos and consider a moisture meter reading before you move forward. Call us at (844) 320-7095 if you need a written second opinion on the repair scope.
Yes for bathrooms without an openable window, per the California Building Code and Mechanical Code requirements for mechanical ventilation. The fan must be rated for the room’s square footage (50 CFM minimum for rooms up to 100 square feet) and must exhaust to the outdoors, not into the attic. A fan ducted into the attic is a code violation regardless of how long it’s been that way. If you don’t know where your duct terminates, request the installation photos or ask us for a free inspection.
Three causes, in order of likelihood: strike plate misalignment (a five-minute fix), door slab warped from moisture (a rehang or replacement), or framing deflection from a wall whose load-bearing capacity changed with the tile assembly. In our experience on Fullerton remodels of 1940s and 1950s homes, framing deflection is more common than most contractors will admit because the original walls weren’t engineered for the tile weight of a modern bathroom. Measure the diagonals of the door slab and the frame corner-to-corner and you’ll know which one you have.
It’s real if it’s in the written contract with the scope, the exclusions, and the claims process specified. A verbal promise is not a warranty in any enforceable sense. Ask to see the warranty section of a sample contract before you sign, and read it against the CSLB’s published standards for written contracts. Rowan Construction Group Fullerton puts its 365-Day Done Right Promise in writing on every project – the terms are on the page, not in an asterisk, and the written price, written scope, and photo record are standard deliverables. Call us at (844) 320-7095 for a free estimate or a free second opinion on any written bid you already have.
The Bottom Line

Grout cracking, shower leaks, low pressure, ceiling condensation, and misaligned doors almost always trace to five findable installation steps: substrate deflection, a waterproofing breach at the curb or niche, an undersized supply line, an uninsulated duct run, and framing overloaded on a non-structural wall. Diagnose the installation step, not the symptom, before you authorize any repair. Pull your written contract and read the warranty first – it determines who pays and what evidence you need. Request the flood test record. And if you need a documented second opinion on a repair or a bid, our team has walked these failures hundreds of times. See our Driveway & Pavers in Newport Beach and Fence Installation in Newport Beach pages for how we document installation steps on exterior trades, and visit our Home Additions & ADU in Newport Beach page for how that documentation scales on larger projects.
Call (844) 320-7095 for a free estimate. Written price before any work starts, no change order without a signature, and a documented photo record on every visit – that’s the Rowan Construction Group standard on every bathroom remodel in Fullerton and the surrounding metro.
Written by the team at Rowan Construction Group Fullerton.