Last updated November 18, 2026



Free written scope consultation - allowances, timeline, and change-order rules on paper before a single trade is scheduled
Driveway & Pavers Warning Signs Every Homeowner Should Know
A driveway paver that rocks under foot pressure isn’t failing yet. It already failed, six months ago, in the base layer you can’t see without pulling three pavers. That’s the uncomfortable truth about interlocking concrete and clay pavers: the surface is the last place a problem shows up, and by the time it does, the cheap fix window has usually closed. In Fullerton, where clay soils swell in winter and bake hard by August, that window is shorter than most homeowners expect. What follows is the inspection routine we teach, the five warning signs ranked by urgency, and the measurements that separate “watch it” from “call someone this month.”
Quick Answer
The five driveway paver warning signs, ranked by urgency, are: joint sand loss (monitor), edge restraint movement (repair within 30 days), surface pooling after rain (investigate the base), unit rocking underfoot (probe the base immediately), and edge creep beyond a quarter inch (structural repair required). Most failures worth $5,000 – $15,000 to correct announce themselves 12 – 24 months in advance, and homeowners who catch the first three stages usually spend under $500 on re-sanding, edge pinning, and drainage correction.
Styles & brands we work with
- Kitchen remodeling
- Bathroom remodeling
- Home additions & ADU
- Roofing
- Windows & doors
- Driveway & pavers
- Fence
Table of Contents
- Why Pavers Fail From the Bottom Up
- The Five Warning Signs, Ranked by Urgency
- The 10-Minute Self-Inspection: Hose, Level, Screwdriver
- Drainage Warning Signs: From the Street vs. From Below
- Installation Defects vs. Normal Wear
- How to Log and Photograph What You Find
- What Fullerton’s Climate Does to Paver Bases
- When to Call a Professional
Why Pavers Fail From the Bottom Up
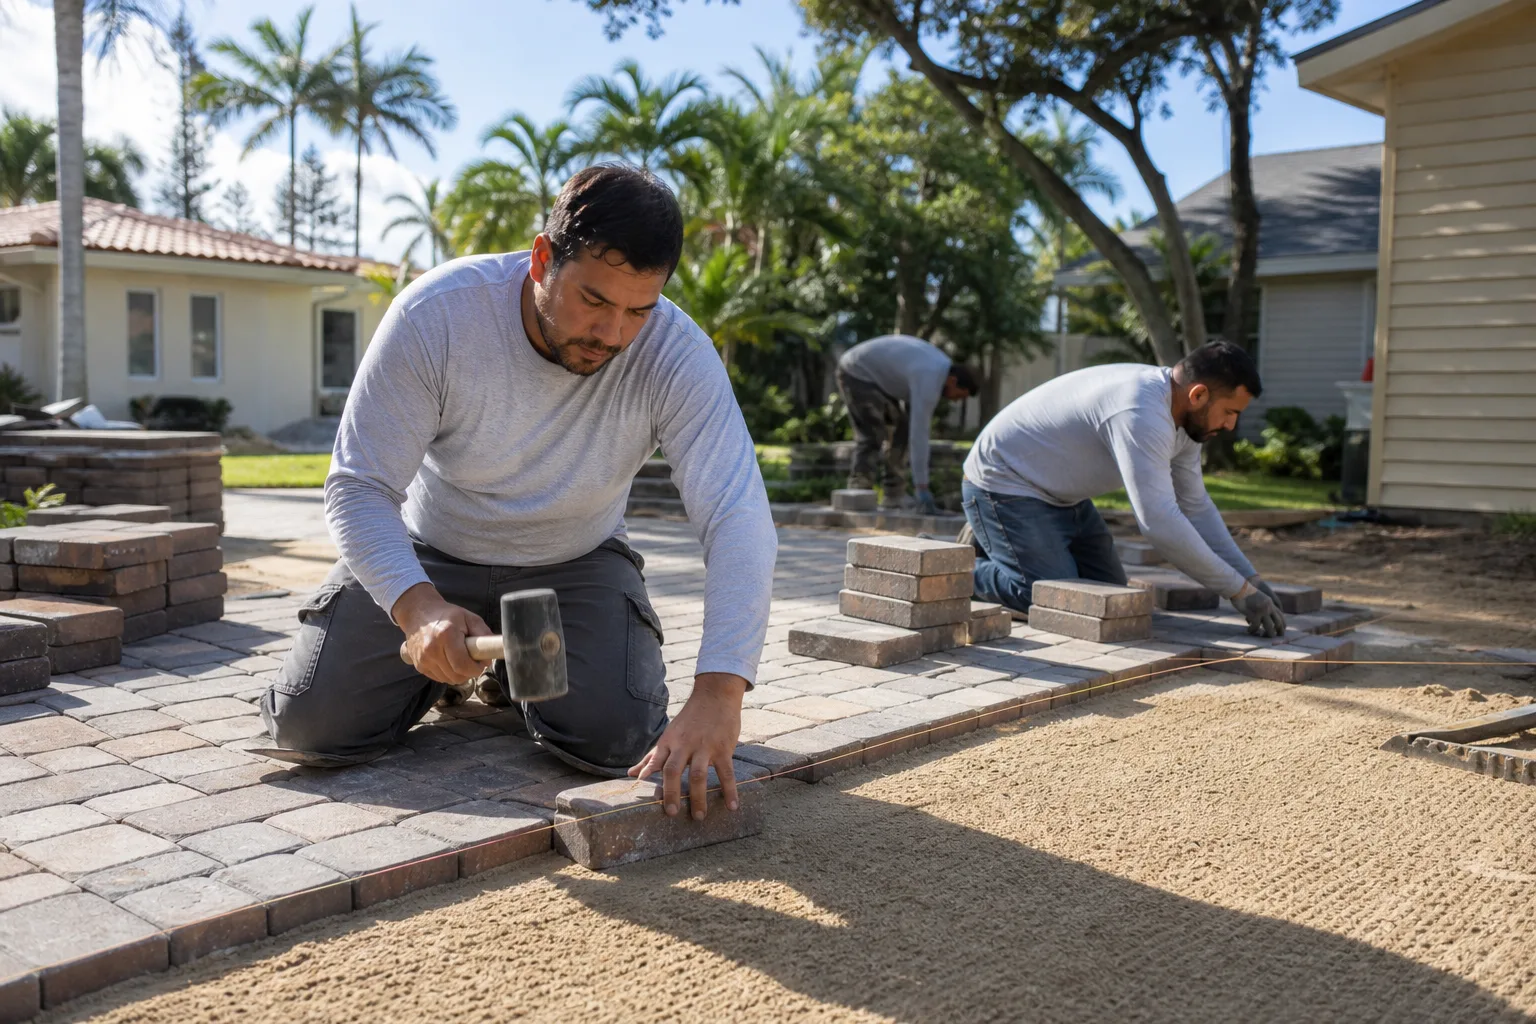
A paver driveway is a layered system, and every layer matters more than the one above it. From the soil up: native subgrade, a compacted aggregate base usually 4 to 6 inches deep for pedestrian and light vehicle loads, a 1-inch bedding sand layer, the pavers themselves, and polymeric or washed joint sand locking the field together. The edge restraint – a concrete curb or an aluminum or steel channel – holds the whole assembly in compression.
When a driveway fails, the cause almost never lives at the surface. Water gets into the base through lost joint sand or a failed edge, the aggregate loses compaction, and the paver field shifts. The pavers themselves are the most durable part of the system: a good concrete paver from a brand like Belgard or Techo-Bloc will outlast the base beneath it by decades.
That’s why surface repairs without base investigation don’t hold. Re-sanding a driveway with a saturated, uncompacted base buys you a season at best. We’ve watched this pattern repeat across Fullerton’s older tracts, particularly on sloped driveways feeding toward the street in neighborhoods where the original pour dates to the 1950s and 1960s.
The Five Warning Signs, Ranked by Urgency
1. Joint Sand Loss – Monitor
Joint sand sits in the 2 – 4 mm channels between pavers and does two jobs: it locks the units against lateral movement and it keeps water out of the base. When it washes out, you’ll see gaps a screwdriver blade drops into without resistance, or sand collecting at the driveway apron after rain. Check monthly during the rainy season. Re-sanding with polymeric sand costs $150 – $400 for a typical two-car driveway and takes an afternoon.
2. Edge Restraint Movement – Repair Within 30 Days
The edge restraint is the driveway’s skeleton key. If it shifts outward, the field loses compression and starts to creep. Look for a visible gap between the outermost paver row and the curb, or a restraint that lifts when you press down on it. In Fullerton, restraints on the downslope side toward the street see the most movement because that’s where water exits fastest. Pinning a moving edge typically runs $200 – $500.
3. Surface Pooling After Rain – Investigate the Base
Water standing on pavers 30 minutes after rain stops is not a surface problem. It means the base has settled or the drainage gradient has flattened. Don’t re-sand over this; a hose test won’t fix it. An investigation with a 4-foot level and a few pulled pavers costs a few hundred dollars and tells you whether you’re facing a $500 correction or a $6,000 base rebuild.
4. Unit Rocking Underfoot – Probe the Base Immediately
A single rocking paver means one unit has lost bedding contact, often from a small void. Three or more rocking in the same area means the base beneath them has failed. Walk the driveway in soft-soled shoes, slowly, and note every unit that moves. Stopping a localized base failure early – pulling and re-bedding a 3 – 4 paver cluster – typically runs $300 – $800. Left alone for a year, water works into the void and the repair area doubles or triples.
5. Edge Creep Beyond 1/4 Inch – Structural Repair Required
Measure the gap between the outermost paver and the restraint, or the total spread of the driveway width at the bottom of the slope versus the top. Creep past a quarter inch means the restraint has failed and the field is moving. This is a structural repair, not maintenance: re-setting the restraint, re-compacting the edge, and re-sanding typically runs $800 – $2,500. At the far end of this scale, when the base has also failed, you’re in rebuild territory.
The 10-Minute Self-Inspection: Hose, Level, Screwdriver
You don’t need a contractor to tell you the difference between “watch it” and “call someone.” You need three tools and ten minutes. Do this two weeks after the first good rain of the season and again in late summer.
- The screwdriver test (joint sand). Push a flathead screwdriver into the joint between pavers. It should meet resistance within a quarter inch. If it sinks past half an inch with no resistance, sand is gone and water is getting into the base. Note the depth and location.
- The rocking walk (unit stability). Walk every square foot of the driveway in socks or soft shoes, slowly. Mark each unit that rocks or sounds hollow with a chalk mark. Three marks within a 3-foot radius is a base-investigation trigger.
- The level test (drainage gradient). Lay a 4-foot level along the driveway’s fall line and lift one end until the bubble centers. Anything over 1/4 inch of lift across the length means the drainage gradient has flattened. A driveway that should shed water toward the street needs a continuous 1 – 2% slope – roughly 1/8 to 1/4 inch per foot – and a sag in the middle is a base signal.
- The hose test (pooling pattern). Run a hose at a low flow rate onto the center of the driveway for five minutes. Watch where water travels. Standing water deeper than 1/4 inch anywhere after five minutes of flow points to a low spot, and a low spot means a settled base.
- The edge check (restraint and creep). Press down on the outer restraint at three points. It shouldn’t move. Then measure the parallel gap between the outer paver and the restraint with a tape at both ends of that run. A quarter inch or more at either end is your threshold.
Log every measurement with a date and a photo. When you eventually get bids, the contractor who sees your log will give you a tighter written price than the one who walks the driveway cold. If you want the full comparison point, see our Driveway & Pavers in Newport Beach page for what written scopes look like in practice.
Drainage Warning Signs: From the Street vs. From Below
Most homeowners assess drainage from the street, standing at the apron looking up. That view tells you where the water goes but not where it goes wrong. The two perspectives reveal different problems.
From the street, watch for:
- Water channeling along the driveway edge instead of sheet-flowing off the apron – a sign the edge restraint has settled.
- Staining or efflorescence (the white chalky bloom on pavers) that forms a diagonal line – the path water takes below.
- Sand or aggregate deposits on the sidewalk apron after rain – evidence the base is flushing out from underneath.
- A visible dip where the driveway meets the apron – usually the lowest compaction point in the field.
From below – the downslope edge inspection – watch for:
- Pulling three pavers along the downslope edge and probing the base with a screwdriver. If the aggregate holds loose, muddy, or waterlogged, the base is saturated.
- A visible line where the base is darker than the surrounding area – a moisture trail.
- Soft spots in the edge restraint bedding that give under a screwdriver blade.
In Fullerton, the downslope edge check matters most on homes with north-facing or shaded driveways, where clay soils hold moisture longer and the base doesn’t dry out completely between storms. We’ve seen winter base saturation from a simple soil-side drainage miss turn into a full base rebuild within three seasons.
Installation Defects vs. Normal Wear
Whether a driveway problem is your installer’s responsibility or just age depends on three questions, and the answers usually point clearly one way.
Installation defects typically show up within the first two or three seasons and share these traits:
- Uniform failure patterns – the same edge creep, the same sag, the same pooling, across the whole driveway, because the same base-compaction miss applies everywhere.
- Failure concentrated at the driveway’s most-loaded point (the apron) or the drainage-critical point (the downslope edge) regardless of how little traffic crosses it.
- Restraint that was never pinned or was set in insufficient concrete – visible on inspection.
- Joints that were insufficiently filled at handover and never held sand from the first rain.
Normal wear shows the opposite fingerprint: localized, traffic-correlated, and progressive over many years. The tire tracks wear first; the mid-field stays stable; no drainage pooling appears; edge restraints stay put. Sand loss that appears after 12 or more seasons with no other signs is wear. Sand loss in year one is an install problem.
This distinction matters legally. A written warranty on paver installation usually runs one to five years and covers base prep, compaction, and edge setting – but not sand maintenance, and not damage from tree roots or from water directed onto the driveway by a neighbor’s grade change. Keep the original scope document and the warranty in the same folder as the driveway photos. If you’re comparing written scopes across contractors, request a free second opinion on any estimate before signing – a second set of eyes on the base-prep language is worth the call.
How to Log and Photograph What You Find
Most homeowners only start documenting after the failure appears, which is exactly the wrong time. A simple written log turned over to a contractor at the first sign of trouble is the difference between a targeted $400 repair and a $7,000 rebuild bid. The format should be boring and consistent.
- Photo with a scale reference. Tape a ruler or a coin next to the joint, gap, or pooled water. Take the photo from 3 feet up, in daylight, with the driveway in the same position each time.
- Photo from the same camera position every time. Mark the spot on the ground with a small paint dot so your before-and-after comparison actually lines up. Rename each file with the date: 2026-03-14-north-edge-creep.jpg.
- Measure and record. For every sign, write down the measurement: joint depth in inches, creep gap in inches, level gradient in inches across 4 feet, pooled area in square feet. Numbers, not adjectives.
- Note the weather in the last 48 hours. Water findings after rain are stronger evidence than dry-weather guesses.
- Photograph the downslope edge with the pavers pulled. Only do this if you’re comfortable lifting three pavers by hand and can reseat them. If not, photograph the edge in place and note “base not visible.”
A documented photo record is also what we deliver on every visit as a standard item, not an add-on. When you get bids, ask every contractor whether they’ll give you the same thing. A written price before any work starts, a written scope, and a photo record of what was found – that’s the standard we hold to under Clause 1 of the Haven Standard. Anything less is a verbal promise, and verbal promises don’t help you in year three when you’re deciding whether a failure was the installer’s fault.
What Fullerton’s Climate Does to Paver Bases
Fullerton sits in a coastal-influenced inland basin where the soil is predominantly clay and clay loam. That single fact drives most of the driveway failures we see here. Clay swells when wet and shrinks when dry, and each cycle nudges the compaction of the base above it. Driveways that were stable through the 2015 drought often showed their first movement after the wet winters that followed.
Three Fullerton-specific patterns worth knowing:
- North-facing driveways on shaded lots in older neighborhoods hold moisture longer and see base saturation first, especially where the neighbor’s downspout or grade change directs water across the property line.
- Driveways that abut the sidewalk apron at the street commonly show their first dip there, because the apron is the point of highest water exposure during storm runoff from the street.
- Homes near the lower elevations of the Fullerton flatlands have driveways that see splash-back from the street during heavy rain, and the splash zone is where flushing of joint sand first appears.
Fullerton’s municipal code generally follows standard California building code requirements for hardscape and impervious surface coverage, and any significant driveway replacement that increases impervious area can trigger review for drainage compliance. Before you commit to a full rebuild, ask the contractor to describe in writing how the new surface handles water and whether any permits or drainage review will be required. See our Fence Installation in Newport Beach page for how we scope adjacent hardscape work in similar coastal-influenced climates.
Common Mistakes to Avoid
- Re-sanding over a failed base. Fresh polymeric sand over a saturated, uncompacted base looks great for one season, then fails worse than before. Diagnose the base before you treat the surface.
- Assuming a paver failure is a paver problem. The pavers themselves rarely fail. When you’re pricing a repair, ask which repair line item covers the base and compaction, not the surface material.
- Power-washing the joints. A pressure washer on a paver driveway strips the joint sand and drives water into the base. Use a garden hose and a soft-bristle broom, or a low-pressure surface cleaner rated for pavers.
- Ignoring the downslope edge after a wet winter. In Fullerton, the majority of the base saturation we find starts at the downslope edge, not the center of the field. Check it in February, not July.
- Skipping the written scope. “We’ll re-sand and re-set a few pavers” without a written price, scope, and warranty is the reason driveway repairs get repeated. Require a written price before any work starts.
- Accepting a verbal warranty. If the installer won’t put the warranty in writing with named exclusions, treat it as no warranty at all.
- Filing the original installation paperwork in a shoebox. You need the written scope, the warranty, and the completion photos in one place, dated. Fullerton homeowners who have them get faster, cheaper resolutions when a defect appears.
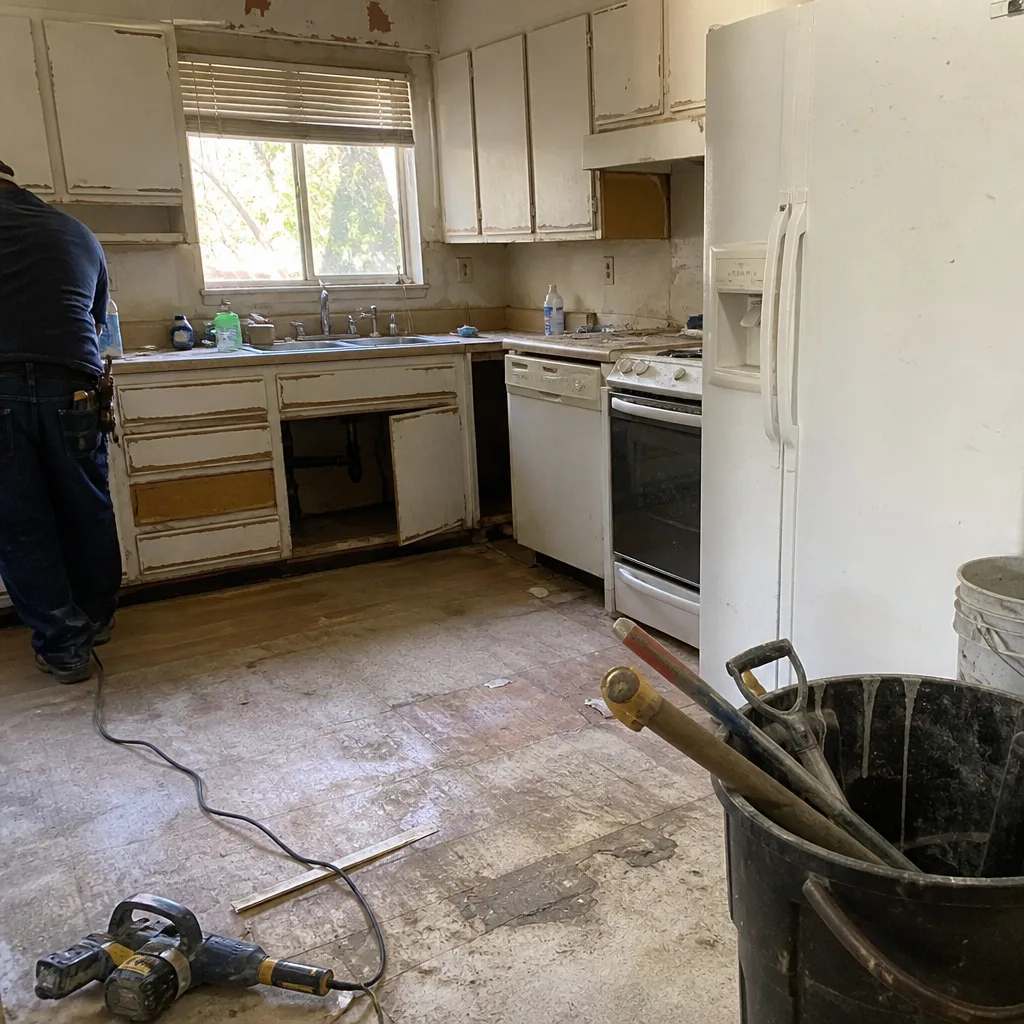
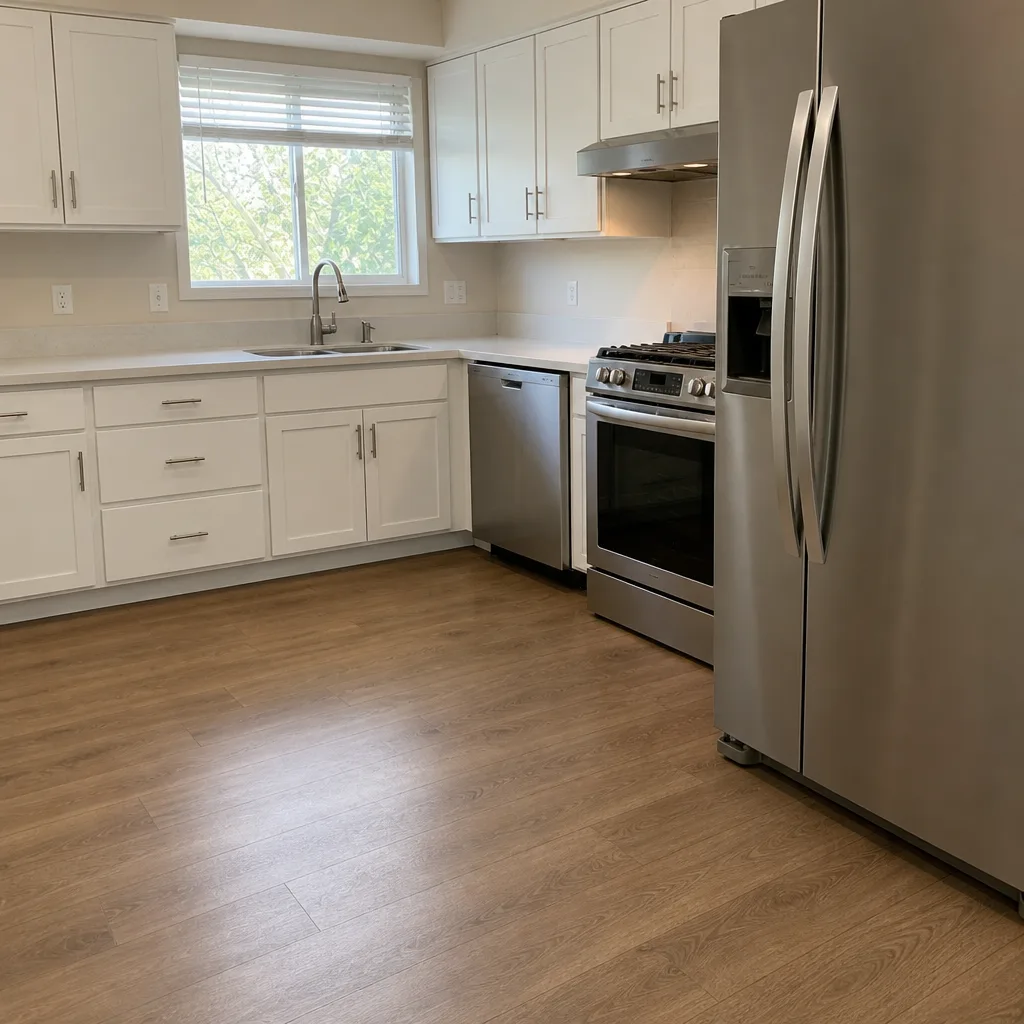
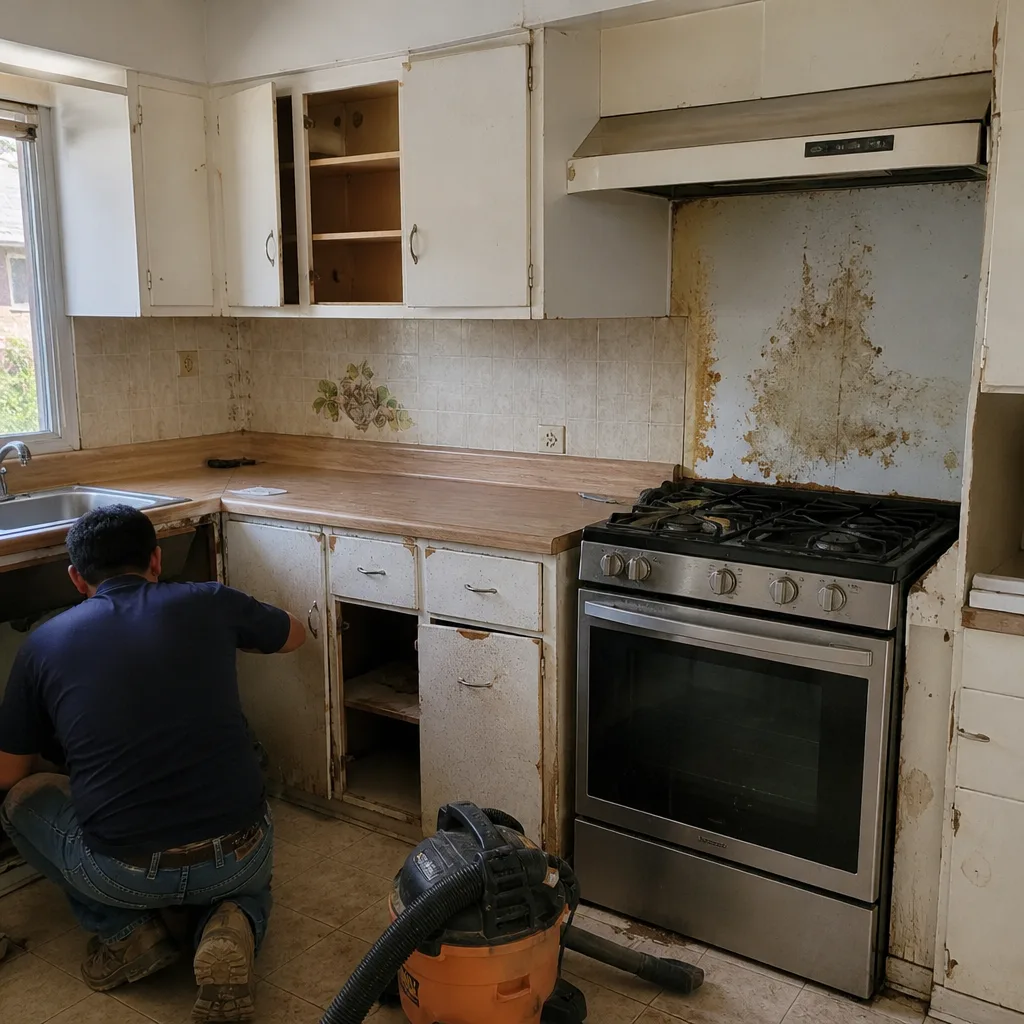
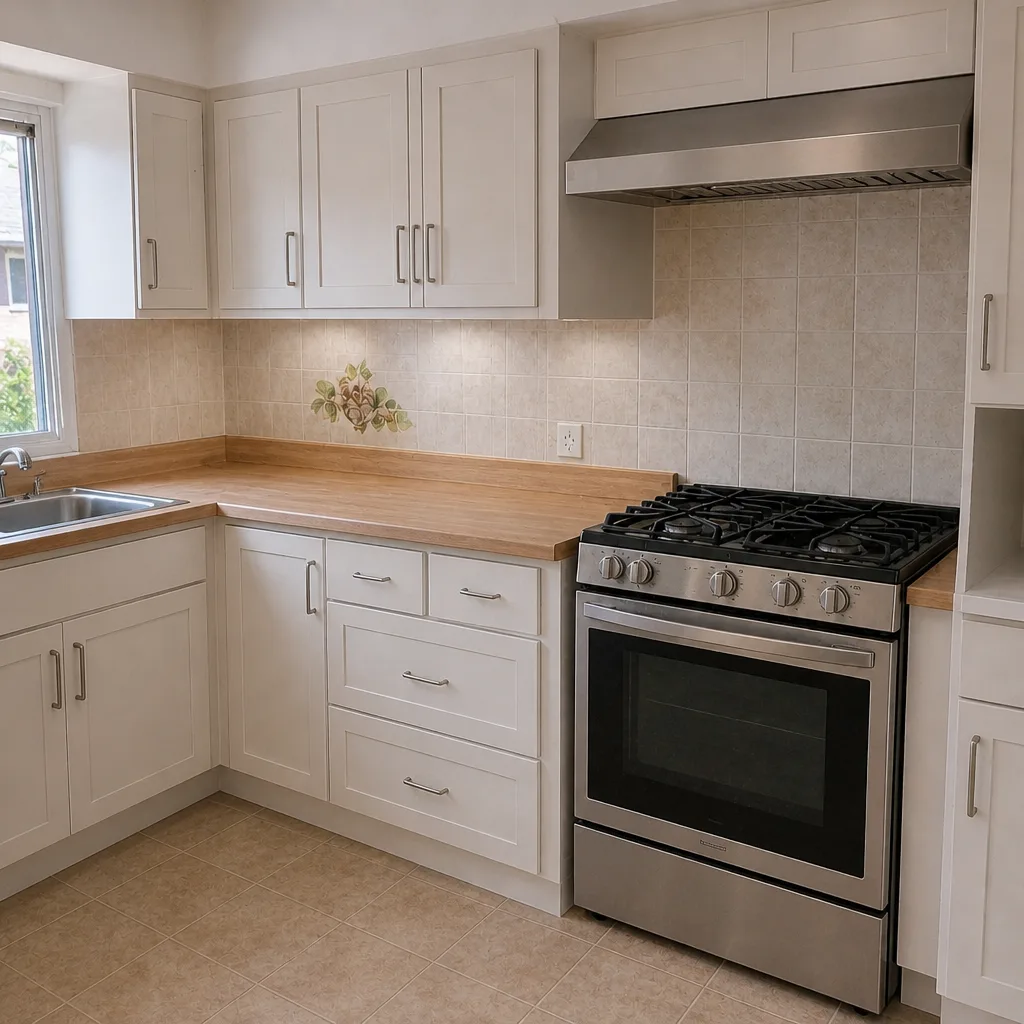
See the difference
 Before
 After
 Before
 After
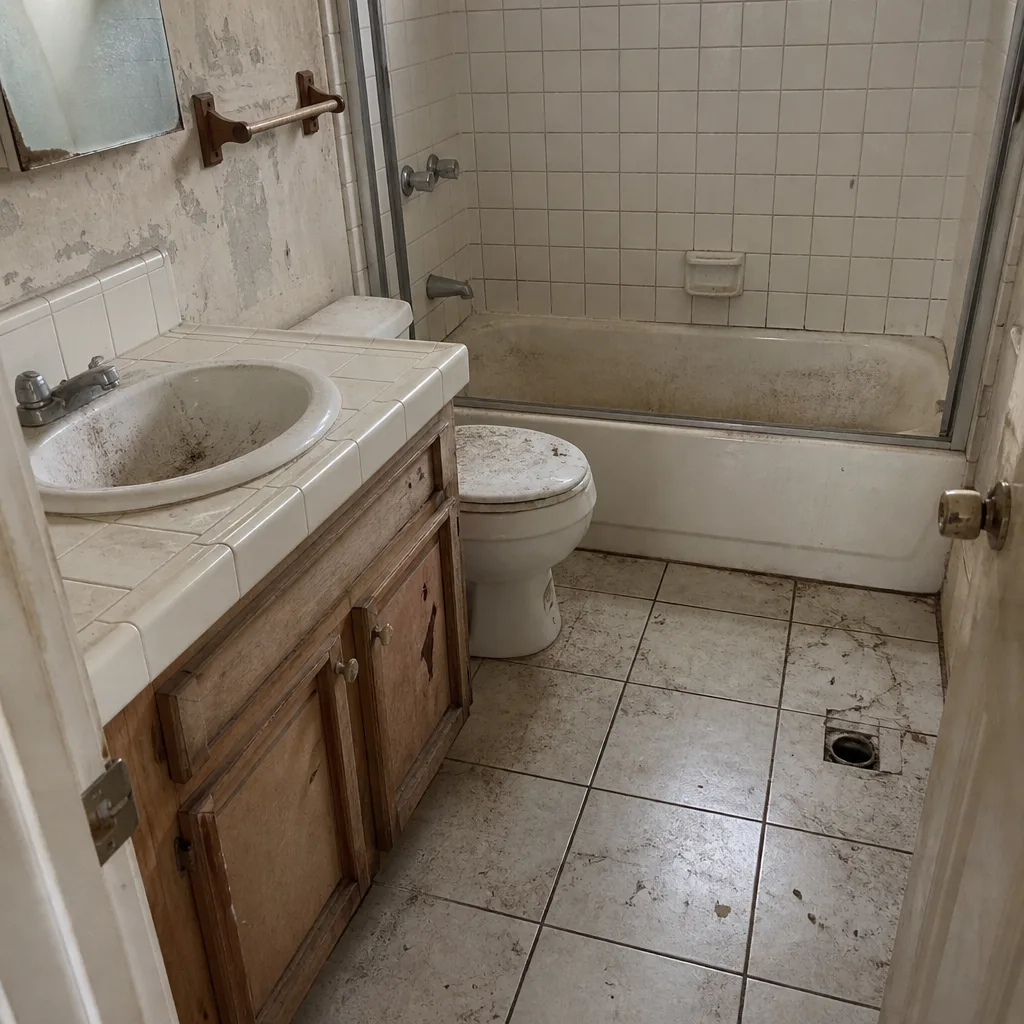 Before
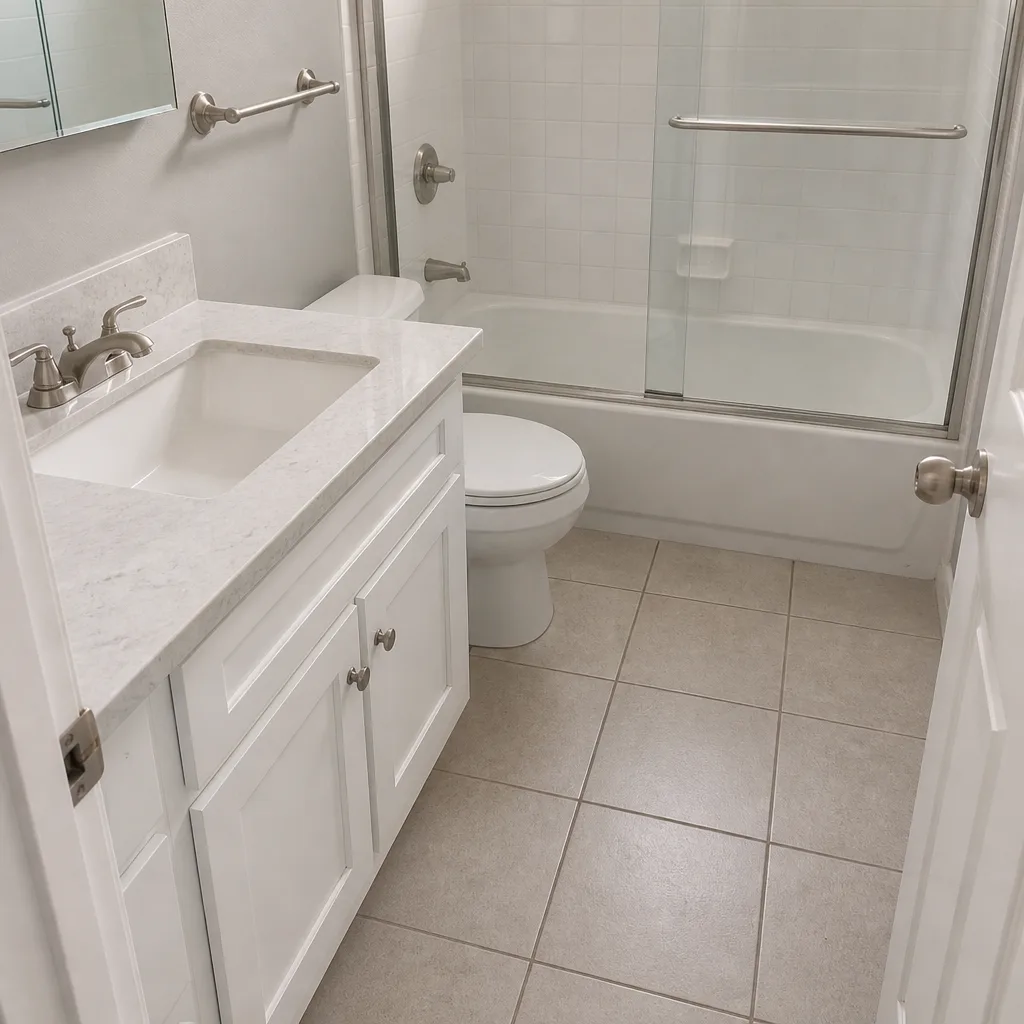 After
When to Call a Professional
Call a professional when any of these apply: three or more rocking pavers within a 3-foot radius; edge creep past a quarter inch on any single run; standing water more than 1/4 inch deep 30 minutes after rain stops; visible joint sand loss of more than half an inch in depth across more than 20% of the driveway; or a visible dip at the apron that a 4-foot level can’t span without more than a quarter inch of lift. Do not attempt a base repair or edge restraint re-set yourself unless you have compaction equipment and paver-setting experience – pulling and resetting a field over a compromised base is the point where homeowner fixes turn into larger failures.
Rowan Construction Group Fullerton offers free estimates in Fullerton – call (844) 320-7095. Every estimate is a flat written price with a written scope before any work starts, and we’ll review any competitor’s written estimate line by line at no charge so you can compare apples to apples.
Frequently Asked Questions
It depends entirely on where in the warning-sign sequence you catch it. Re-sanding and a small edge re-set typically run $300 – $800. Localized re-bedding of a 3 – 4 paver cluster runs $300 – $800. Edge restraint repair runs $200 – $500. A full base rebuild on a two-car driveway in Fullerton typically runs $5,000 – $15,000, depending on base depth, drainage corrections, and paver selection. Call (844) 320-7095 for an exact quote – estimates are free.
A Belgard or Techo-Bloc paver field installed over a properly compacted 4 – 6 inch base with a pinned edge restraint can last 25 to 30 years with routine joint sand replenishment. The pavers themselves outlast the base. When a base or edge failure appears within the first three seasons, it’s almost always an installation issue rather than the paver material.
No, under our process. The price you receive is a flat written price with a written scope before any work starts, and no change proceeds without a signed change order. That discipline is what has kept our projects within a few percent of the agreed cost across 4,000-plus jobs. Call (844) 320-7095 for an exact quote – estimates are free.
When a driveway replacement in Fullerton increases impervious surface area or requires drainage review, yes. Our crews handle permit applications and inspections as part of the written scope, and the permit status is documented in the same photo record we deliver on every visit. If you’re not sure whether your project needs a permit, the written scope will tell you before any work starts.
Installation defects appear in the first three seasons, in uniform patterns across the whole driveway, at the most-loaded or drainage-critical points. Normal wear appears progressively over 12 or more years and follows traffic patterns. A written warranty on installation typically covers base prep, compaction, and edge setting for one to five years, but not routine joint sand maintenance. Keep the written scope and warranty together.
You can spread polymeric sand and broom it into joints on a small driveway as a maintenance task, but only after a joint depth and edge-restraint check confirms the base is sound. If you find any of the four higher-urgency warning signs – edge movement, pooling, rocking, or creep – do not re-sand over them. Call (844) 320-7095 for a free estimate and a base-investigation recommendation before you spend a weekend on a fix that won’t hold.
The Bottom Line
Paver driveway failures appear in a predictable sequence: sand loss, edge movement, pooling, rocking, creep. Homeowners who learn to read the sequence catch failures at the cheap end, where repairs stay under $500. Those who don’t find out what a base rebuild costs. The three tools and ten-minute routine in this guide give you the measurement thresholds to know which side of that line you’re on, and a written log with dated photos gives the contractor you eventually hire a documented starting point. In Fullerton’s clay soils and wet-winter-to-dry-summer cycle, check the downslope edge in February and pool-test in August. If you’re ready for a written estimate, a documented inspection, and a repair plan that names the base layer and not just the surface, call Rowan Construction Group Fullerton at (844) 320-7095. For the full picture of our driveway and paver work alongside the rest of our seven trades – from roofing to Home Additions & ADU in Newport Beach – visit the Rowan Construction Group Fullerton home page.
Written by the team at Rowan Construction Group Fullerton.